 |
This article is need of a clean-up. You can help out Rec Room Wiki by re-organizing parts of the article, checking grammar and spelling, and doing other helpful things to correct the article.
|
About[]
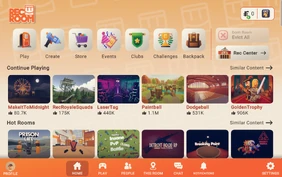
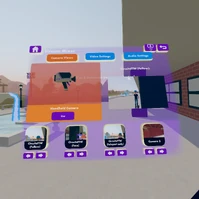
The Watch Menu is the central hub for navigating various features in Rec Room, and provides many functions that will make your Rec Room experience more fun and convenient. Check the Controls Category to learn how to access the menu.

Watch Main Menu (October 2023)
The different functions can be navigated by selecting the buttons using the laser pointer or the index finger of your other hand. Most buttons bring up menus that are described below. The exceptions are the "^DormRoom" button, which sends you to your Dorm Room, the "^RecCenter" button, which sends you to the Rec Center, and the "Exit" button, which ends the game.
A larger version of the menu is available with the maximise button (second from right in the top, right corner; not shown in the picture). You may also lock the menu in place by pressing the "drop" button on your controller (see Basic Controls). This will cause the menu to float in space so you don't have to keep holding your arm up.
The watch face also functions as an analog timepiece for your current timezone. If you’re having trouble reading your watch face, enable “Tap Watch to Open Menu” in the Experience tab of the settings.
Profile Menu[]

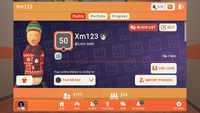
The Profile tab of the profile menu.
By selecting the profile image in the bottom left corner of the taskbar (on menus with new UI), you switch to the profile menu, which includes account information and settings.
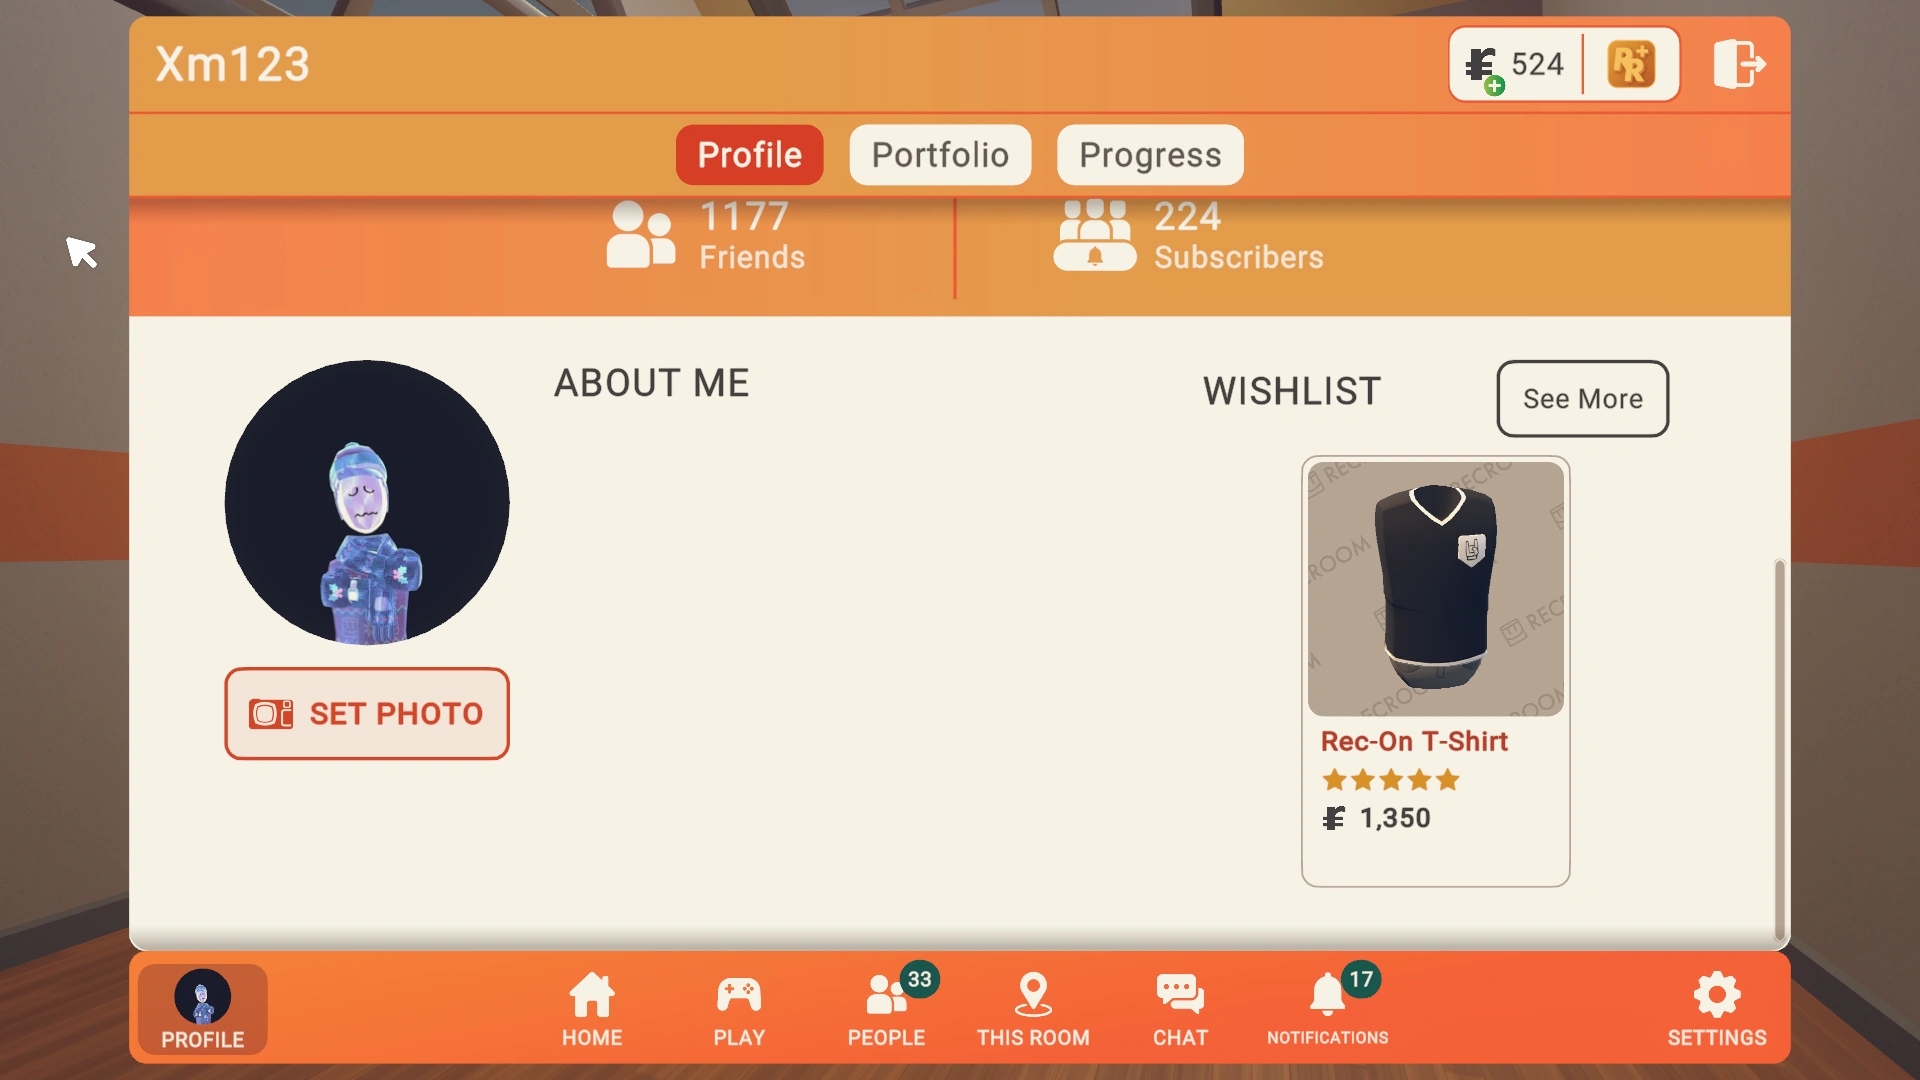

The Profile Menu upon scrolling down
The "Profile" tab displays your avatar, Profile Picture (Can be changed by pressing the "Set Photo" Button), your level, the cheer badge you have active, your username and display name, your Level, number of subscribers (relevant on rec.net), and the number of available tokens for purchases in the Merch Booth and the Store Menu.
- The "About Me" section that is visible upon scrolling down & can be edited in the profile settings (more in depth on that later)
- The "Portfolio" button that is visible near the top of the UI allows a player to see various things about a person, including published rooms, published inventions, and more.
- The "Progression" button that is visible near the top of the UI allows the player to see they're level progression and daily XP cap.


Progression UI
- The "Wishlist" button that is visible upon scrolling down allows a player to show what cosmetics they want. You can wishlist cosmetics via the store menu in your watch.
- The "Saved Outfits" button allows you to save or select one of 18 outfits, or 100 outfit slots if you have Rec Room Plus. (You can create new outfits with the Mirror in your Dorm Room, and in future, directly through the watch!)
- The "Block List" button show a list of players that you have blocked and allows you to remove them from the list.
- The "Leave Party" button lets you leave a "party" of players that you have joined by fist-bumping. (When members of the party go to a different room, they are asked whether they want to invite all other members of the party to the room.)
- With the "Use Code" button, you are able to join a friend or someone else with an enterable code.
- With the "Import Friends" Button, you can import friends from the platform you are on who have a Rec Room account.
- The button below your cheer badge allows you to change your online status without the need to go into settings.
By pressing the "Settings" option in the top right, you will be brought to a menu that allows you to change your Profile Picture, Display Name, Username, About Me, Pronouns, Identity, and toggle recent activity to friends. You can also change your email, phone number, and password from here.
")
")
")
")
")
Settings Menu[]
By tapping the gear icon in the top, right corner of the main watch menu, you switch to the settings menu. There are four tabs containing settings with a large number of options you can change, detailed below:
Controls Tab[]
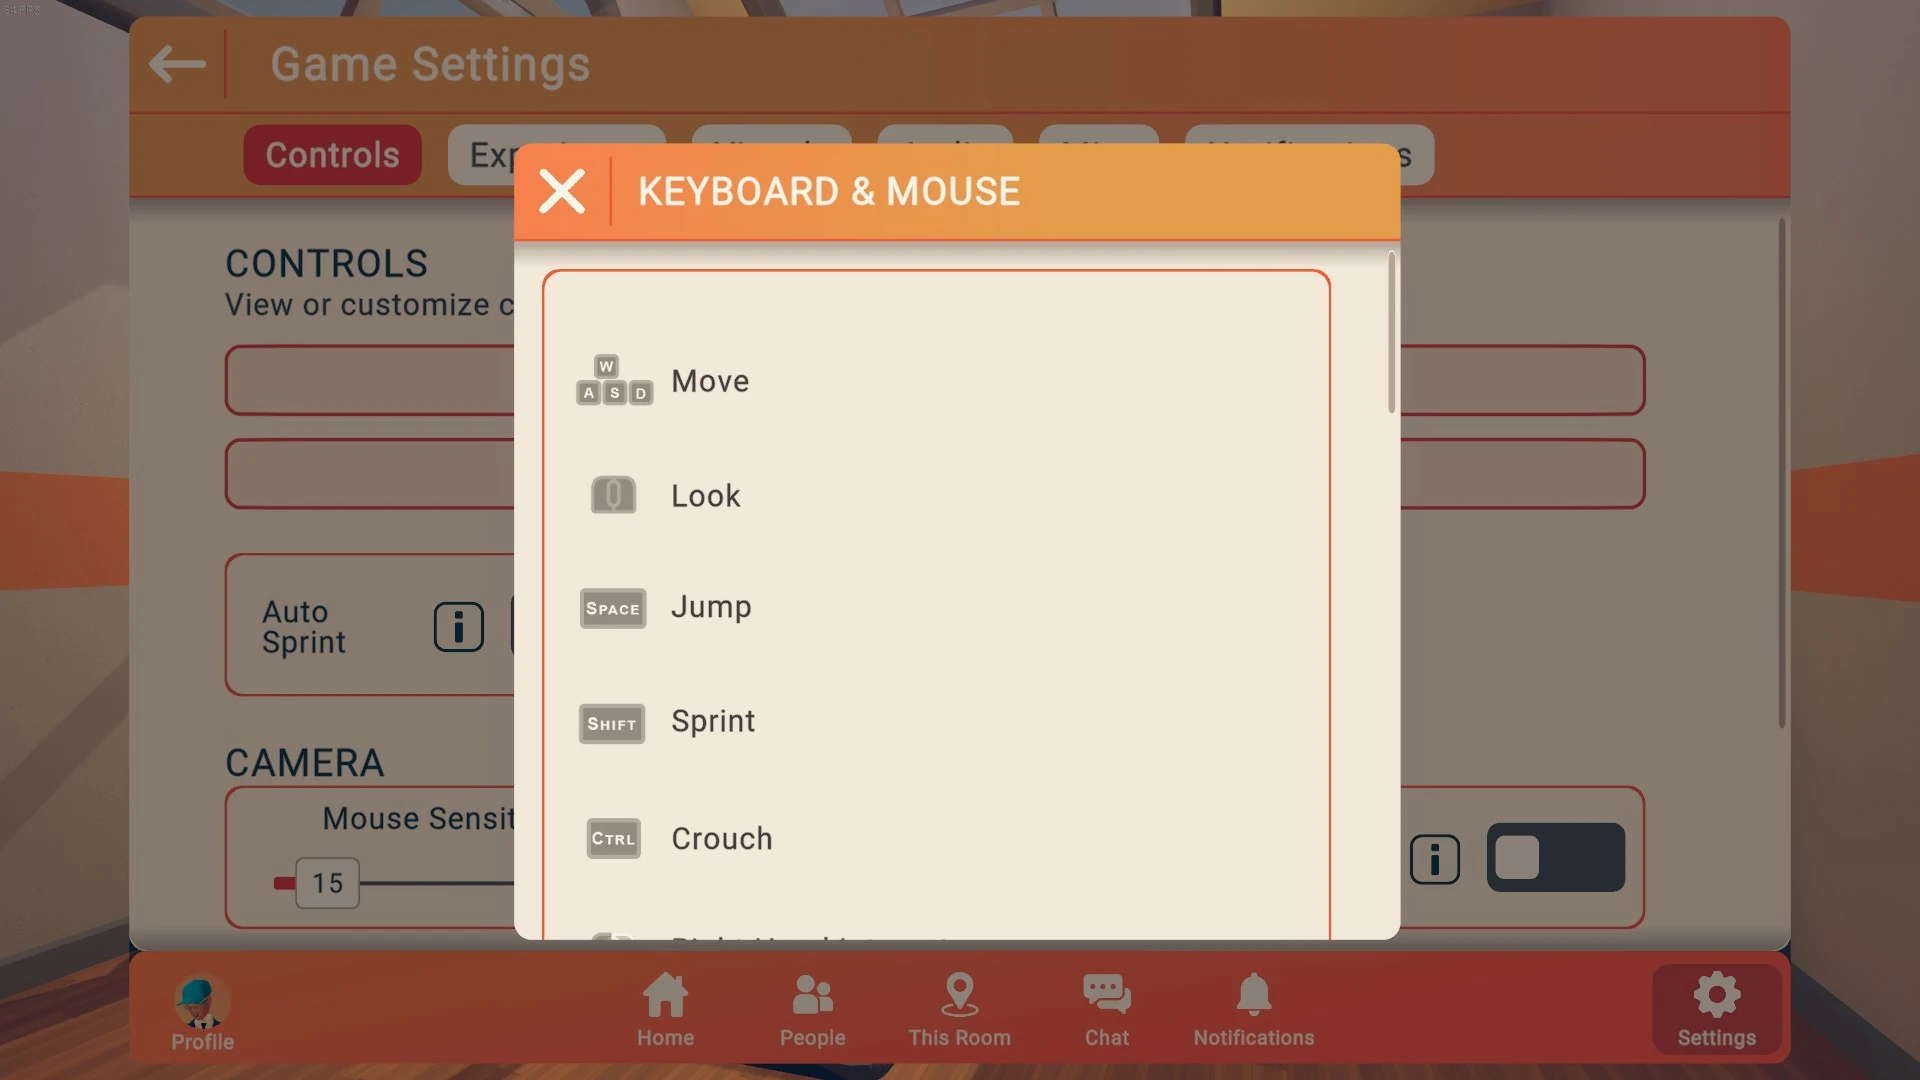

Help tab (for PC Screen Mode players)
This tab shows basic and detailed overview of the controls for the platform that you are currently playing on (see also Basic Controls and Screen Mode).
Experience Tab[]
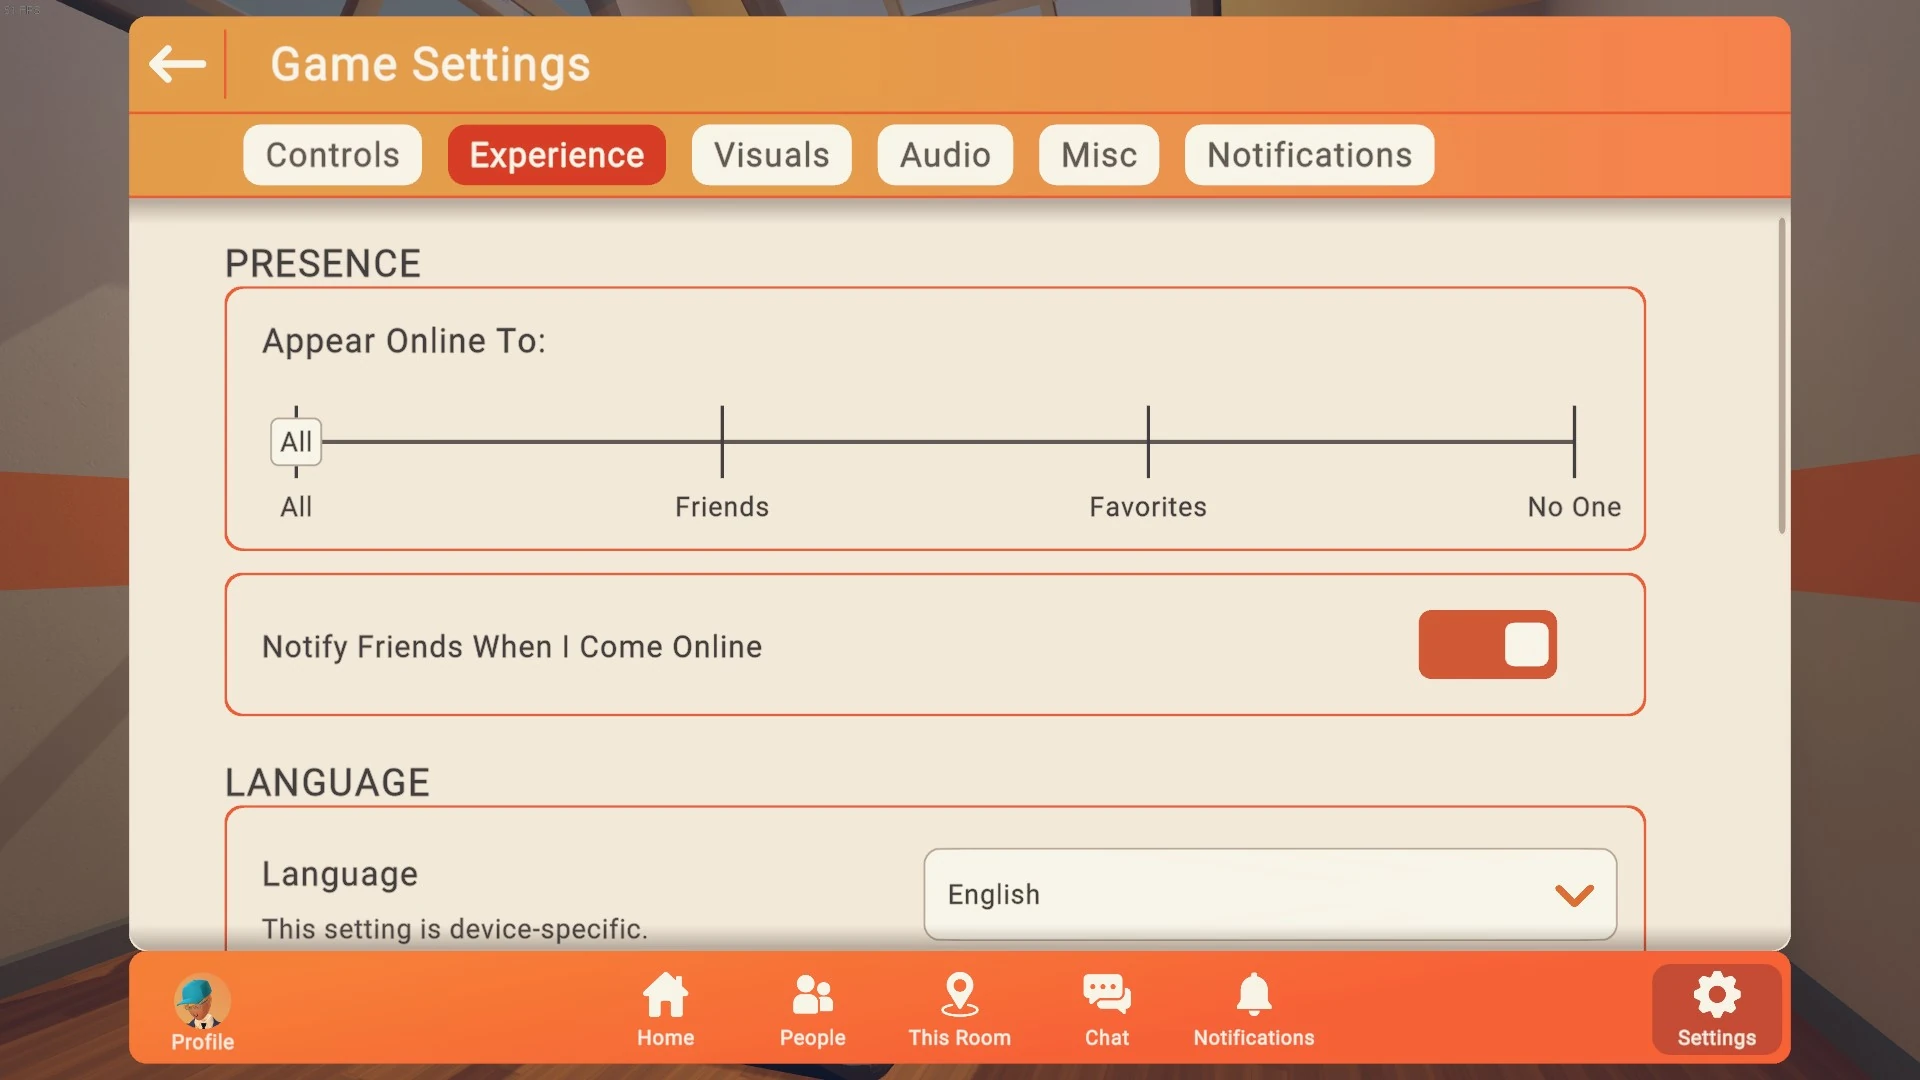
Experience tab
The Personal Space slider creates a barrier around your character which other players may not enter. Setting it to large helps to protect your personal space. Setting it to small is more convenient for other players, allowing them to move around more freely.
The Ignore Bubble is the area in which players become invisible to you (e.g., when they try to invade your personal space).
The Appear Online To slider switches between appearing online to All, Friends, Favorites, or No One. You will only get notifications about friends coming online if you have chosen to appear online to them. For example, choosing to only appear online to favorited friends means you will only get notifications about favorited friends coming online.
The bottom checkboxes specify whether the space bubbles should also be applied to your friends, whether your watch should alert you for notifications, whether to notify your friends when you come online, whether you prefer to join matches with non-Junior players (Junior players cannot talk to you and cannot hear you), whether you want to tap your watch to open it and whether you want to be notified when your friends come online.
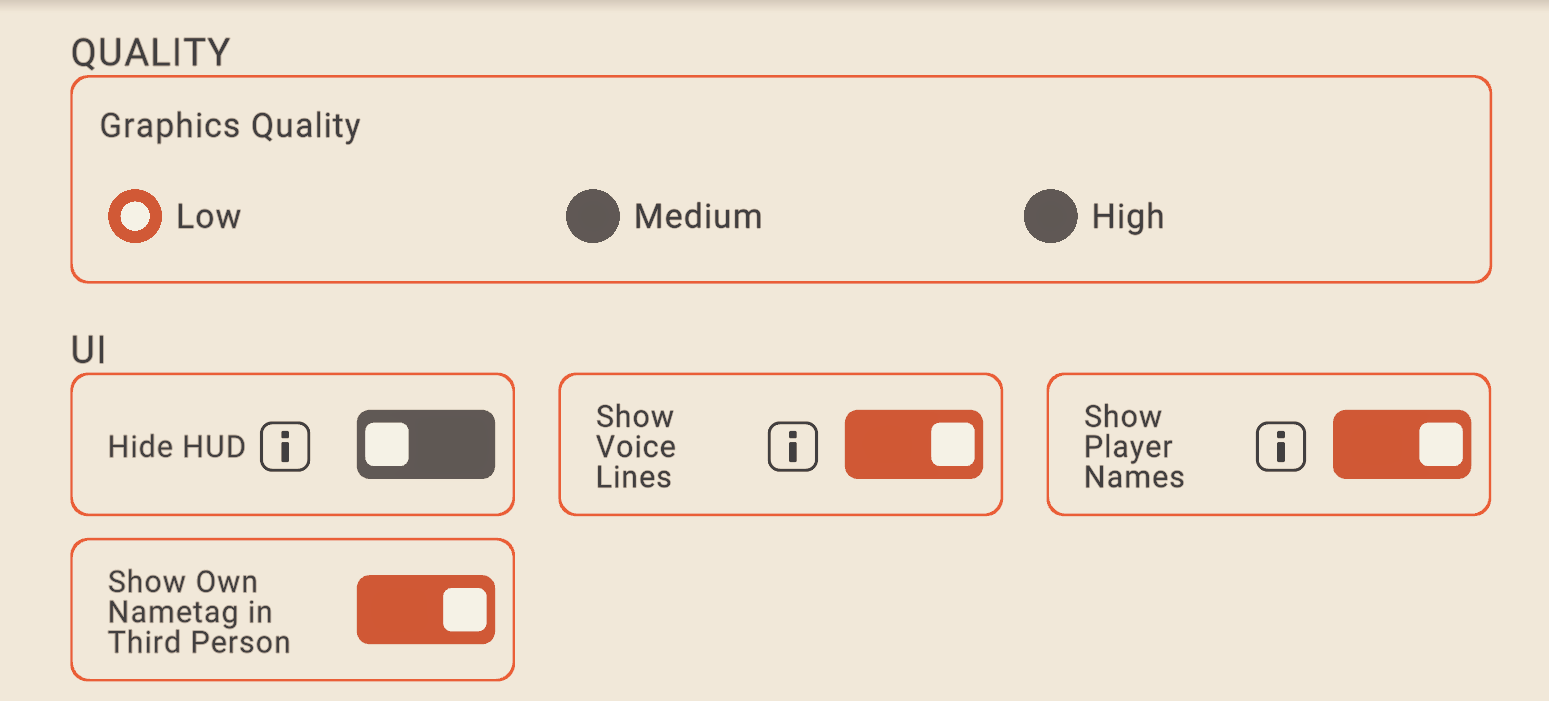
Visuals Tab
Visuals Tab[]
Adjust the graphics and UI settings.
Audio Tab[]
Here you can adjust the volume of Music, Sounds, Ambience, and Voice independently.

Audio tab
The slider "Voices I can hear" determines whether you can hear no one, only your favorite friends, all your friends, or everyone. Note that everyone can hear you unless you block them.
Another slider allows you to change your pitch so your voice sounds deeper or higher, but be aware that it may make you difficult to understand.
You can also change your microphone activation from always-on, to push-to-talk (see Basic Controls) or disable it altogether. With push to talk enabled, this changes the function of Down-Right in the Expresso menu from ”Mute Microphone” to “Enable Microphone”
The sound level indicator allows you to check your microphone.
When your microphone is set to "On", a Mute Gesture checkbox determines whether or not holding your hand in front of your mouth will temporarily mute you.
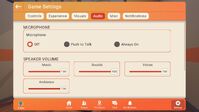
Misc Tab[]
Misc Tab
The last tab has a Graphics Quality slider allowing you to adjust the games visual fidelity.
The Streaming Cam slider activates the Stream Mixer button (see below).
The Backup Frequency slider specifies how often your Custom Rooms are automatically locally backed up while you edit them. An automatic backup is useful in case you lose network connection or your computer crashes.
The Help Page button opens Rec Room's Help Center in your default browser.
The checkbox "Show names" displays names of other players over their avatars. The "Remember this account" checkbox keeps the current profile on the selection screen when starting Rec Room. The checkbox "Share Cam Gesture" enables the share camera gesture (hands in front of you as if you want to show how large something is and pull both triggers).
Additionally, PSVR players have an option to play in a "PS4 Locked Server", which is restricted to only PSVR players. Note that with this option checked, you will only play with other people who have this option checked, so you cannot play with someone who doesn’t have this option checked if you do.
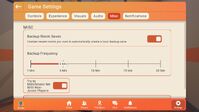
Camera Views tab of Stream Mixer


Settings tab of Stream Mixer
The Stream Mixer (only available on PC) changes how the game is displayed on a second display or the mirror window when using a VR headset. To use the Stream Mixer, slide the Streaming Cam slider to On and tap the Stream Mixer button.
In the "Camera Views" tab, you can switch through the options for cameras. There is a a follow camera, a frontal face camera, a teleport-only cam, and a first-person (POV) camera for your own avatar. To choose which view to show on an external screen, tap the button with the view you would like. (The arrow buttons are currently not functional.) The "Use" button for the handheld camera spawns a camera that you can grab and shows the video stream from the position of this camera.

How To Rec Room - Streamer Cam
YouTube tutorial by Rec Room Inc.

Streamer Cam Update!
YouTube tutorial by Rec Room Inc.
In the "Settings" tab, you can specify the frame rate, field of view (including and experimental 360 panorama), the position of the virtual microphone ("Hear From"), and whether to include a green screen at a specified distance to the camera, which is useful to record your avatar with a green background that can be replaced with other video footage. There is also a tiny button in the top-right corner of the mirror window that allows you to change the camera view and the settings.
The Streamer Cam sends a view to your screen. To capture your screen, you then need to use video capture software like the Xbox Game Bar on Windows 10, Open Broadcaster Software, or NVIDIA ShadowPlay. On PS4, use PlayStation Share. On Oculus Quest, use the built-in recording feature.
Play Menu[]
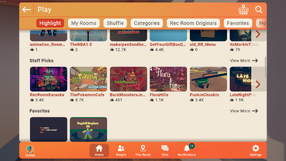
The Play menu allows you to go to any of the #RecRoomOriginal Games or any public #Community Custom Room. (Other Locations are available via the Create Menu.)
The multiple tabs are labelled:
- "Highlight" (recommended rooms personalized for you.)
- "Shuffle" (Randomly selected rooms.)
- "Rec Room Originals" (#RecRoomOriginal Games)
- "Favorites" (rooms that you have added to your favorites; see later in this section),
- "Hot" (most popular #RecRoomOriginal Games and most popular #Community Custom Rooms),
- "New" (new rooms), "Hot" (currently most popular rooms),
- "#(CONTEST) (Rooms made for the current contest)
- an icon with a magnifying glass (for searching a room by name, tag, or creator).


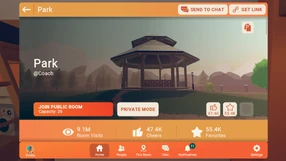
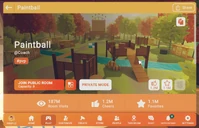
Room details of a room by "Coach"
To go to one of the rooms, tap the image of the room.
- scroll down tap the profile picture of the creator to show the profile screen of the creator,
- copy the room (if this is allowed by the creator),
- report the room,
- add it your favorites,
- cheer it,
- create a new private instance of the room (where you can be alone with players who you invite), or
- go to a public instance of the room (which might already be populated with players).
Events Menu[]

Rec Room- Events Improved!
YouTube tutorial by Rec Room Inc.
The Events Menu consists of 3 tabs:
- The "All Events" tab allows you to browse events. Tapping on any "i" button opens the event details.
- The "My Events" tab lists all the events that you are interested in or plan to attend. Tapping on any "i" button opens the event details.
- The "Create Event" tab allows you to create new events.
")
")
")
")
You can access the same events at https://rec.net/event/browse .
Create Menu[]
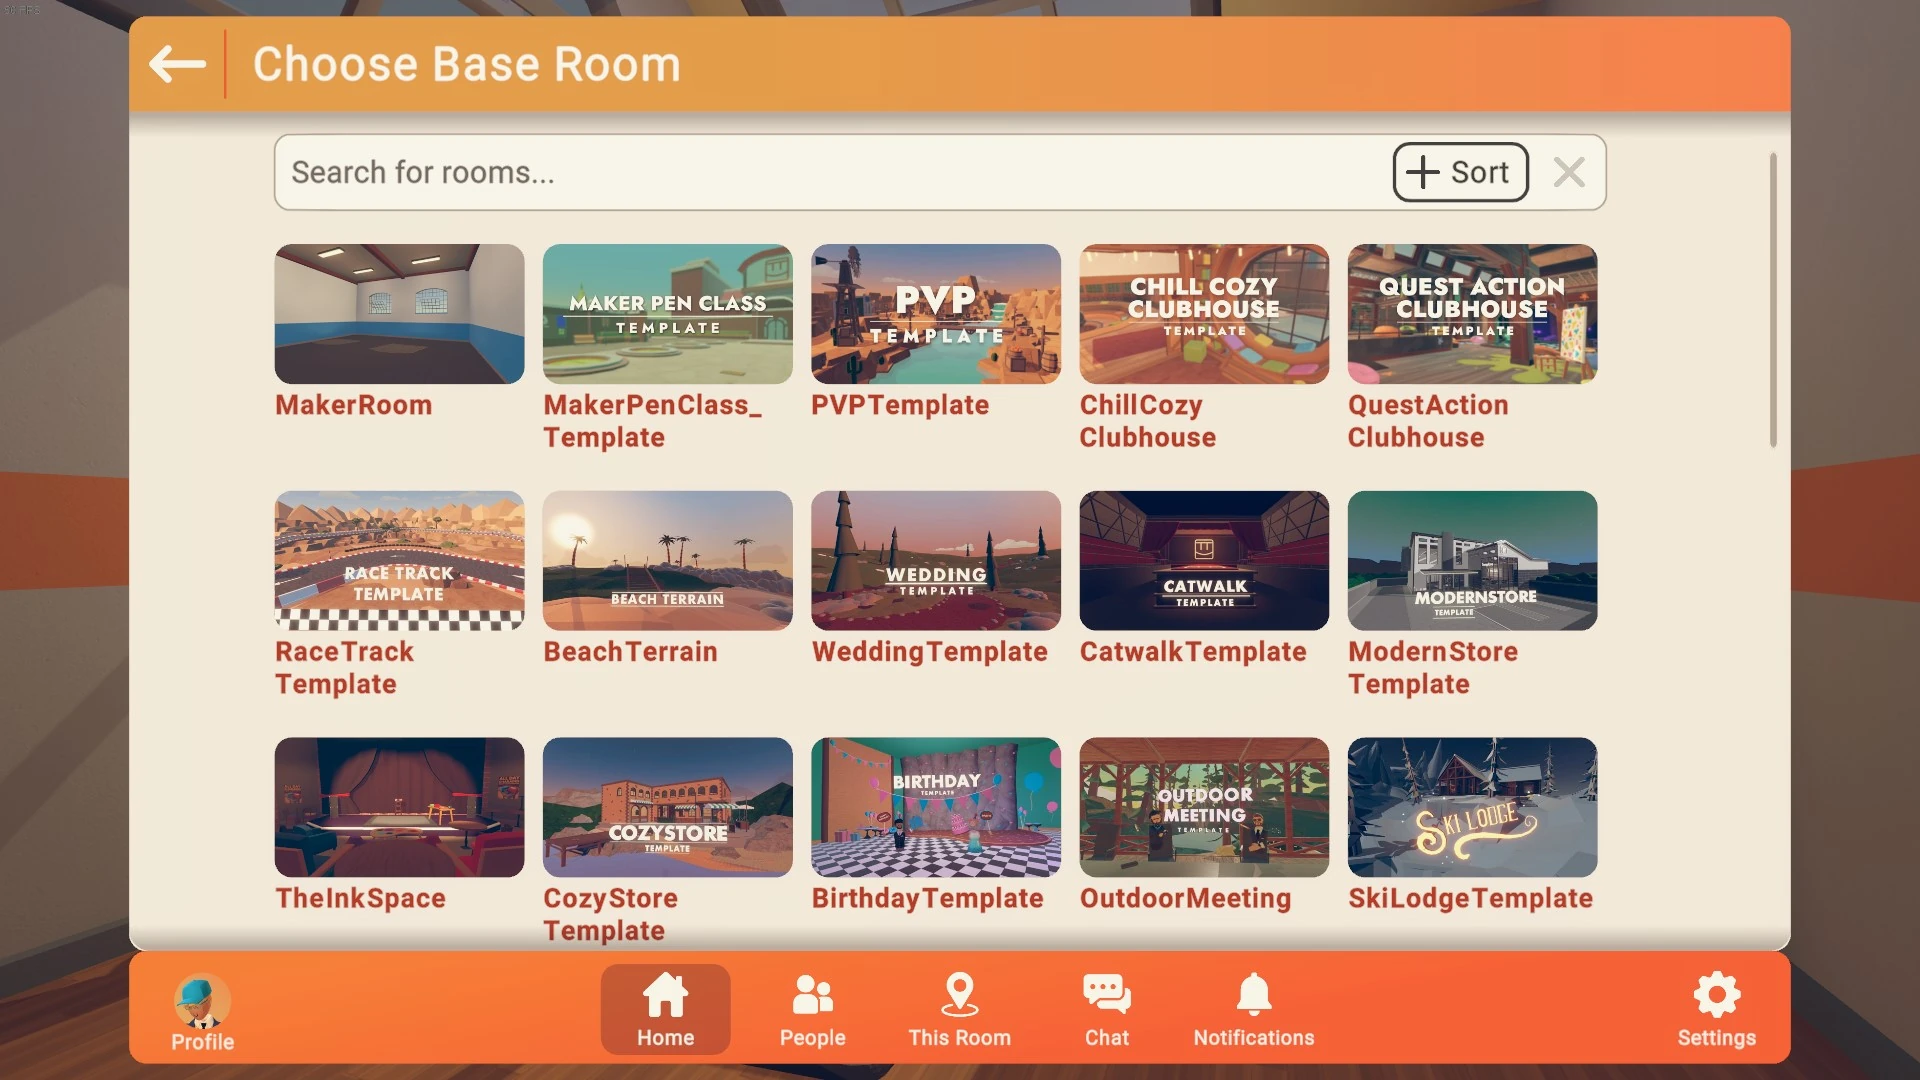

First page of 3 pages of base rooms that can be used to create a new room.

How To Rec Room - Create a Room
YouTube tutorial by Rec Room Inc.
The Create Menu allows you to create a new Custom Room and access the custom rooms that you already have created.
- The tab "Base Rooms" shows a list of rooms (Locations, level maps of #RecRoomOriginal Games without the game play, and selected rooms with the #template tag) that you can use as a starting point for a new custom room. Tap on one of them to create a new custom room.
- The tab "My Rooms" contains a list of custom rooms that you have created already (except for subrooms, which you have to access via their "parent" rooms).
This Room Menu[]
How To Rec Room - Room Setup and Settings
YouTube tutorial by Rec Room Inc.
The This Room menu consists of 2, 3, or 4 tabs that you can select with the buttons at the top.
Rec Royale Tab[]
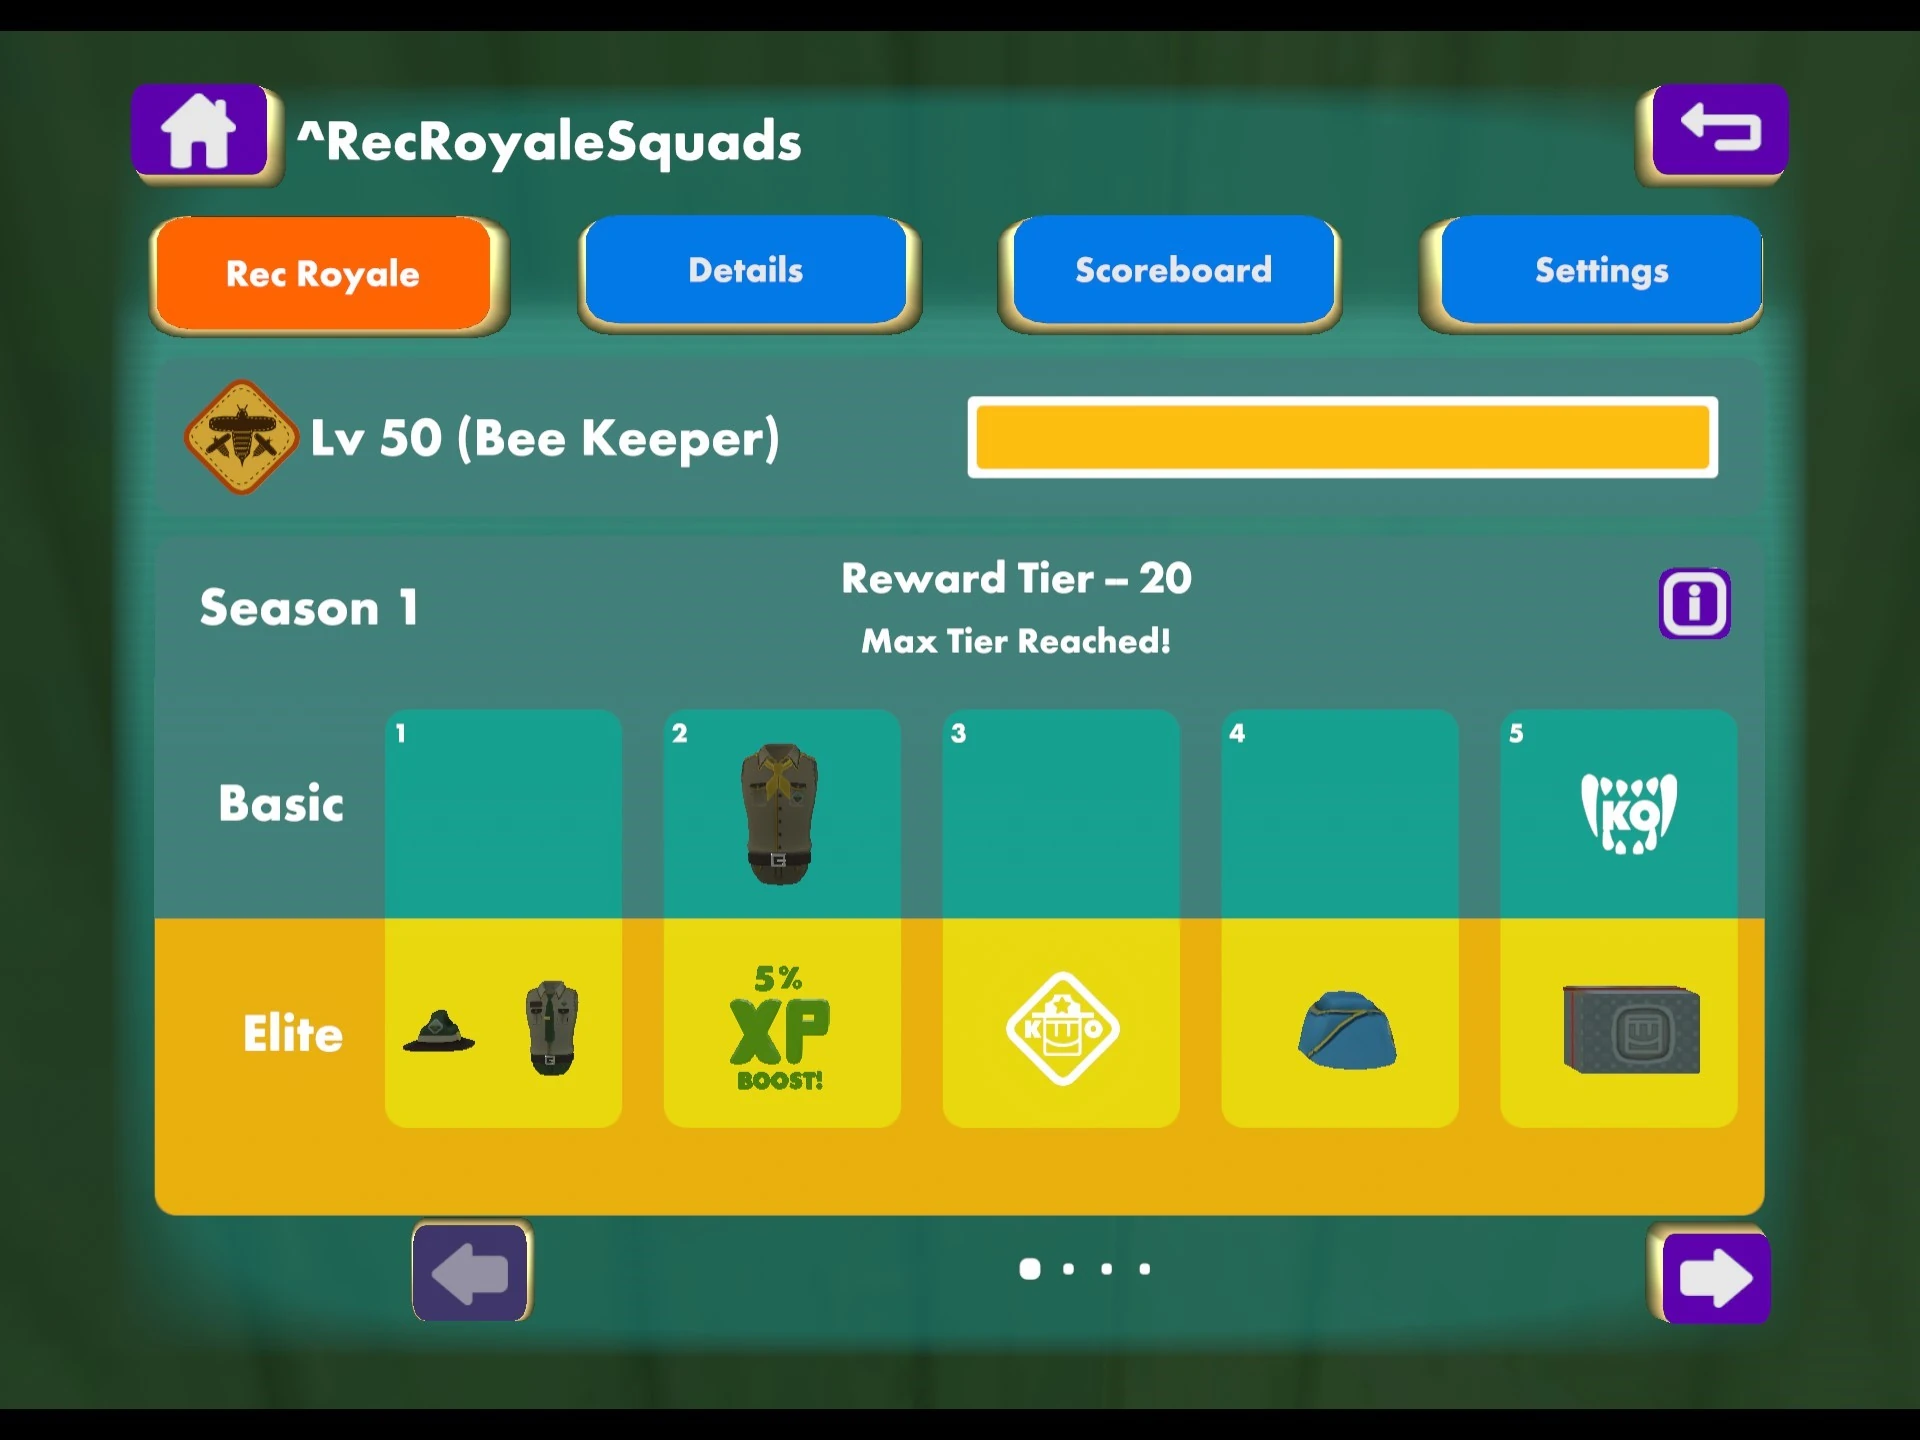
Rec Royale tab.
This tab is only available in Rec Royale games. It shows your Rec Royale level, number of acorns in the current reward tier, current reward tier, and available rewards in reward tiers. It also lets you upgrade to Elite rewards for 1000 tokens.
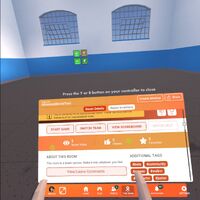
Details Tab[]
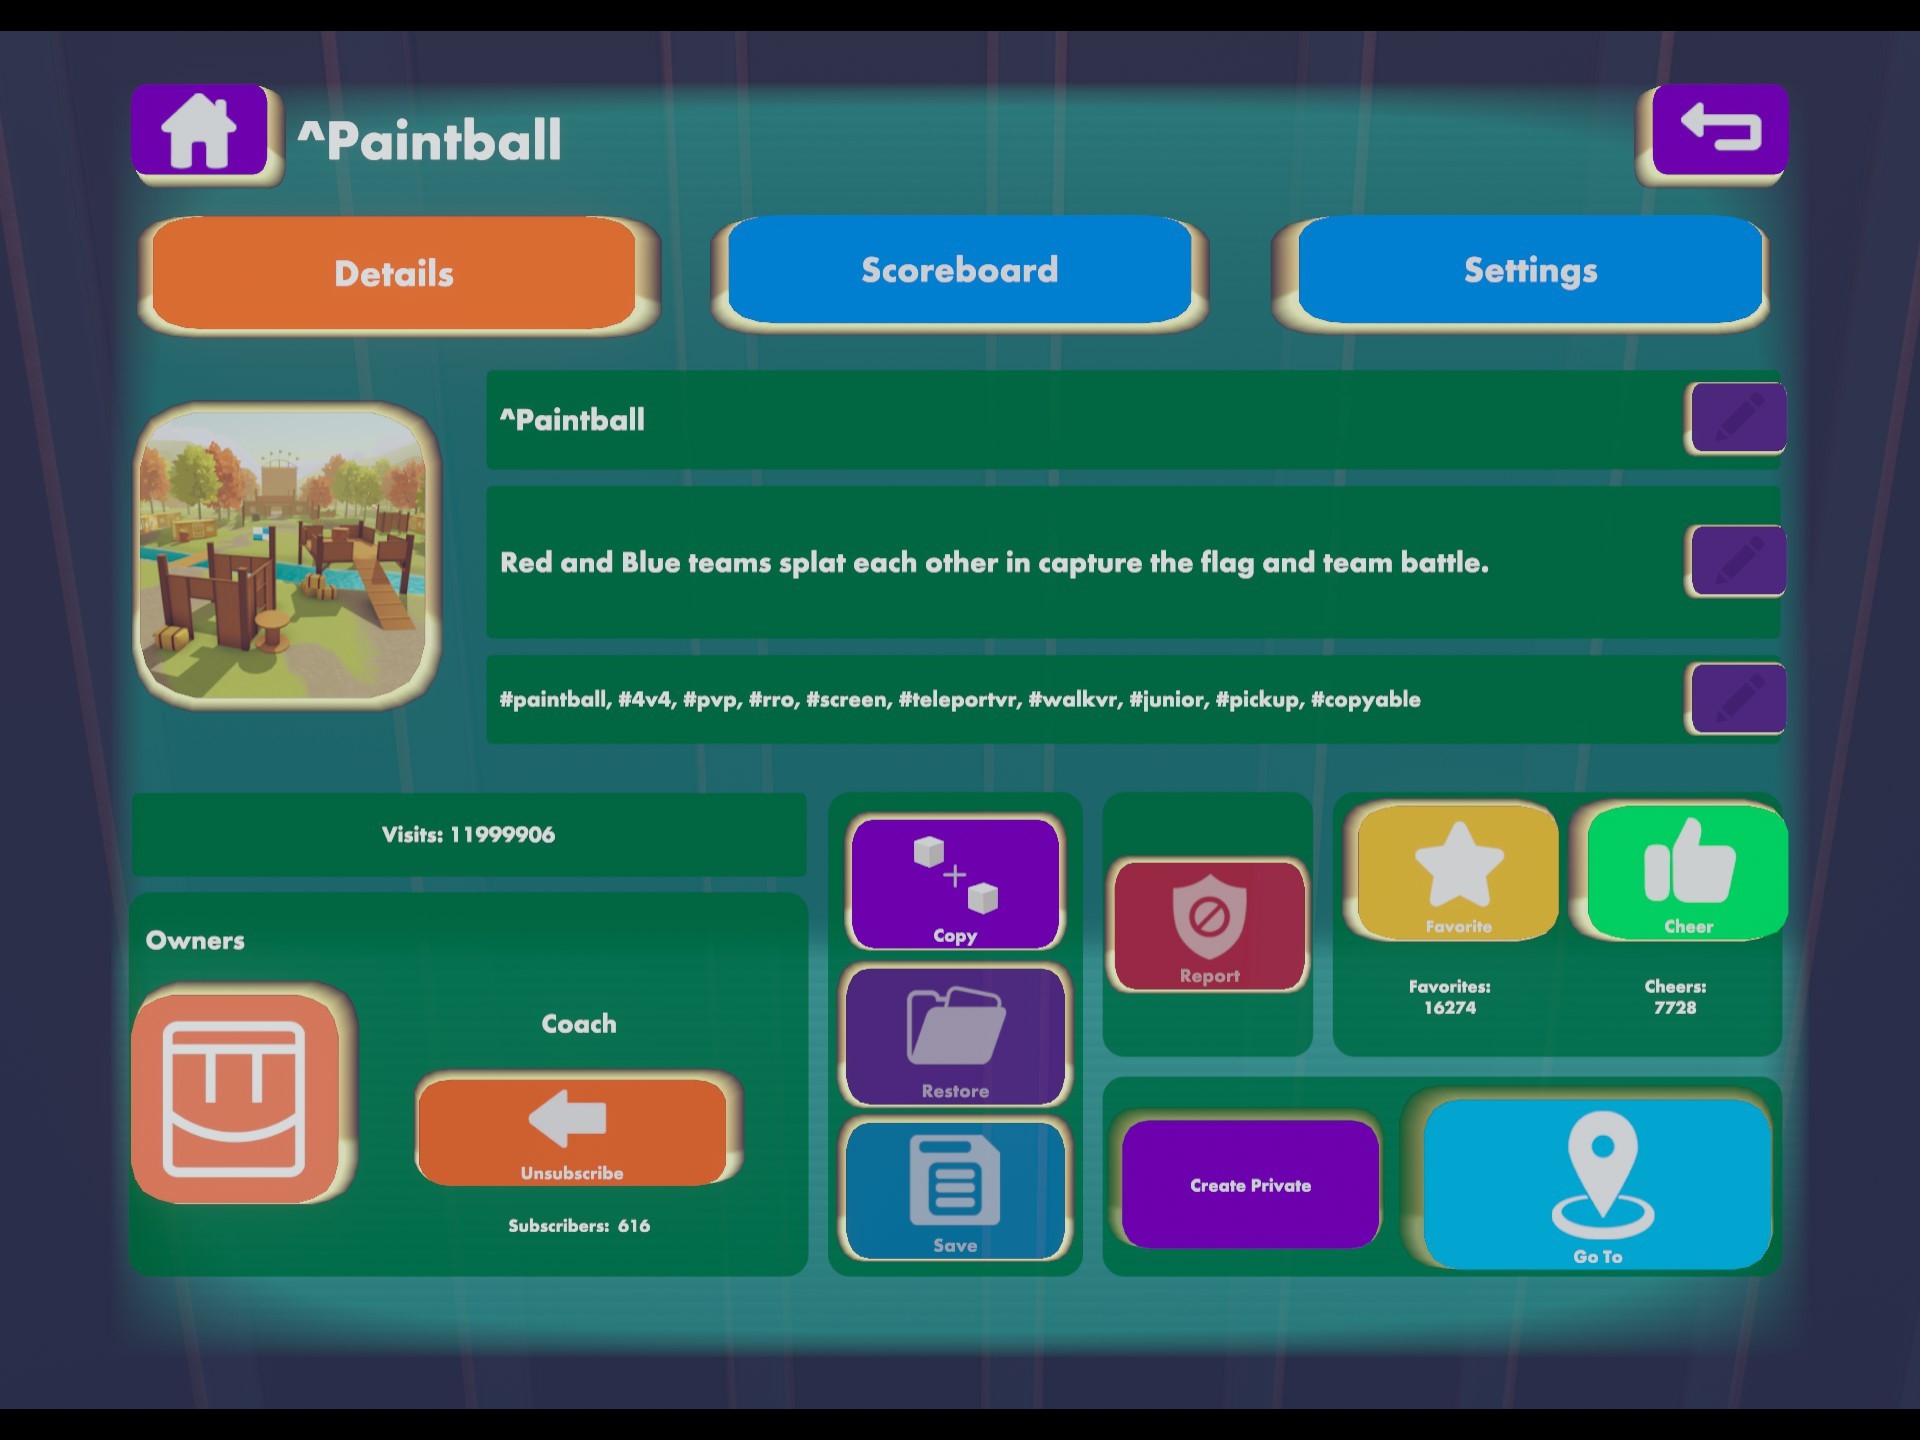
Details tab for a custom room that you don't own.

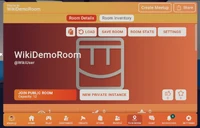
Details tab for a room that you own.
The Details tab provides information about a built-in #RecRoomOriginal Game or a Custom Room that you are in. Depending on your Permissions in a room, more or less actions are allowed in this tab. You might be able to:
- take a room picture (tap the image on the top left)
- change the name, description, and Room Tags of the room,
- open the creator's profile, subscribe to the creator, and see the list of all co-owners,
- copy/clone the room to create a new room that you own (if this is allowed by the creator in the Settings Tab),
- restore the room a previously saved version (you can choose from the most recently saved versions),
- save the current version of the room,
- report the room for violations of the code of conduct,
- add the room to your favorites,
- cheer the room,
- create a new private instance of the room, or
- go to the public instance of the room.
Scoreboard Tab[]
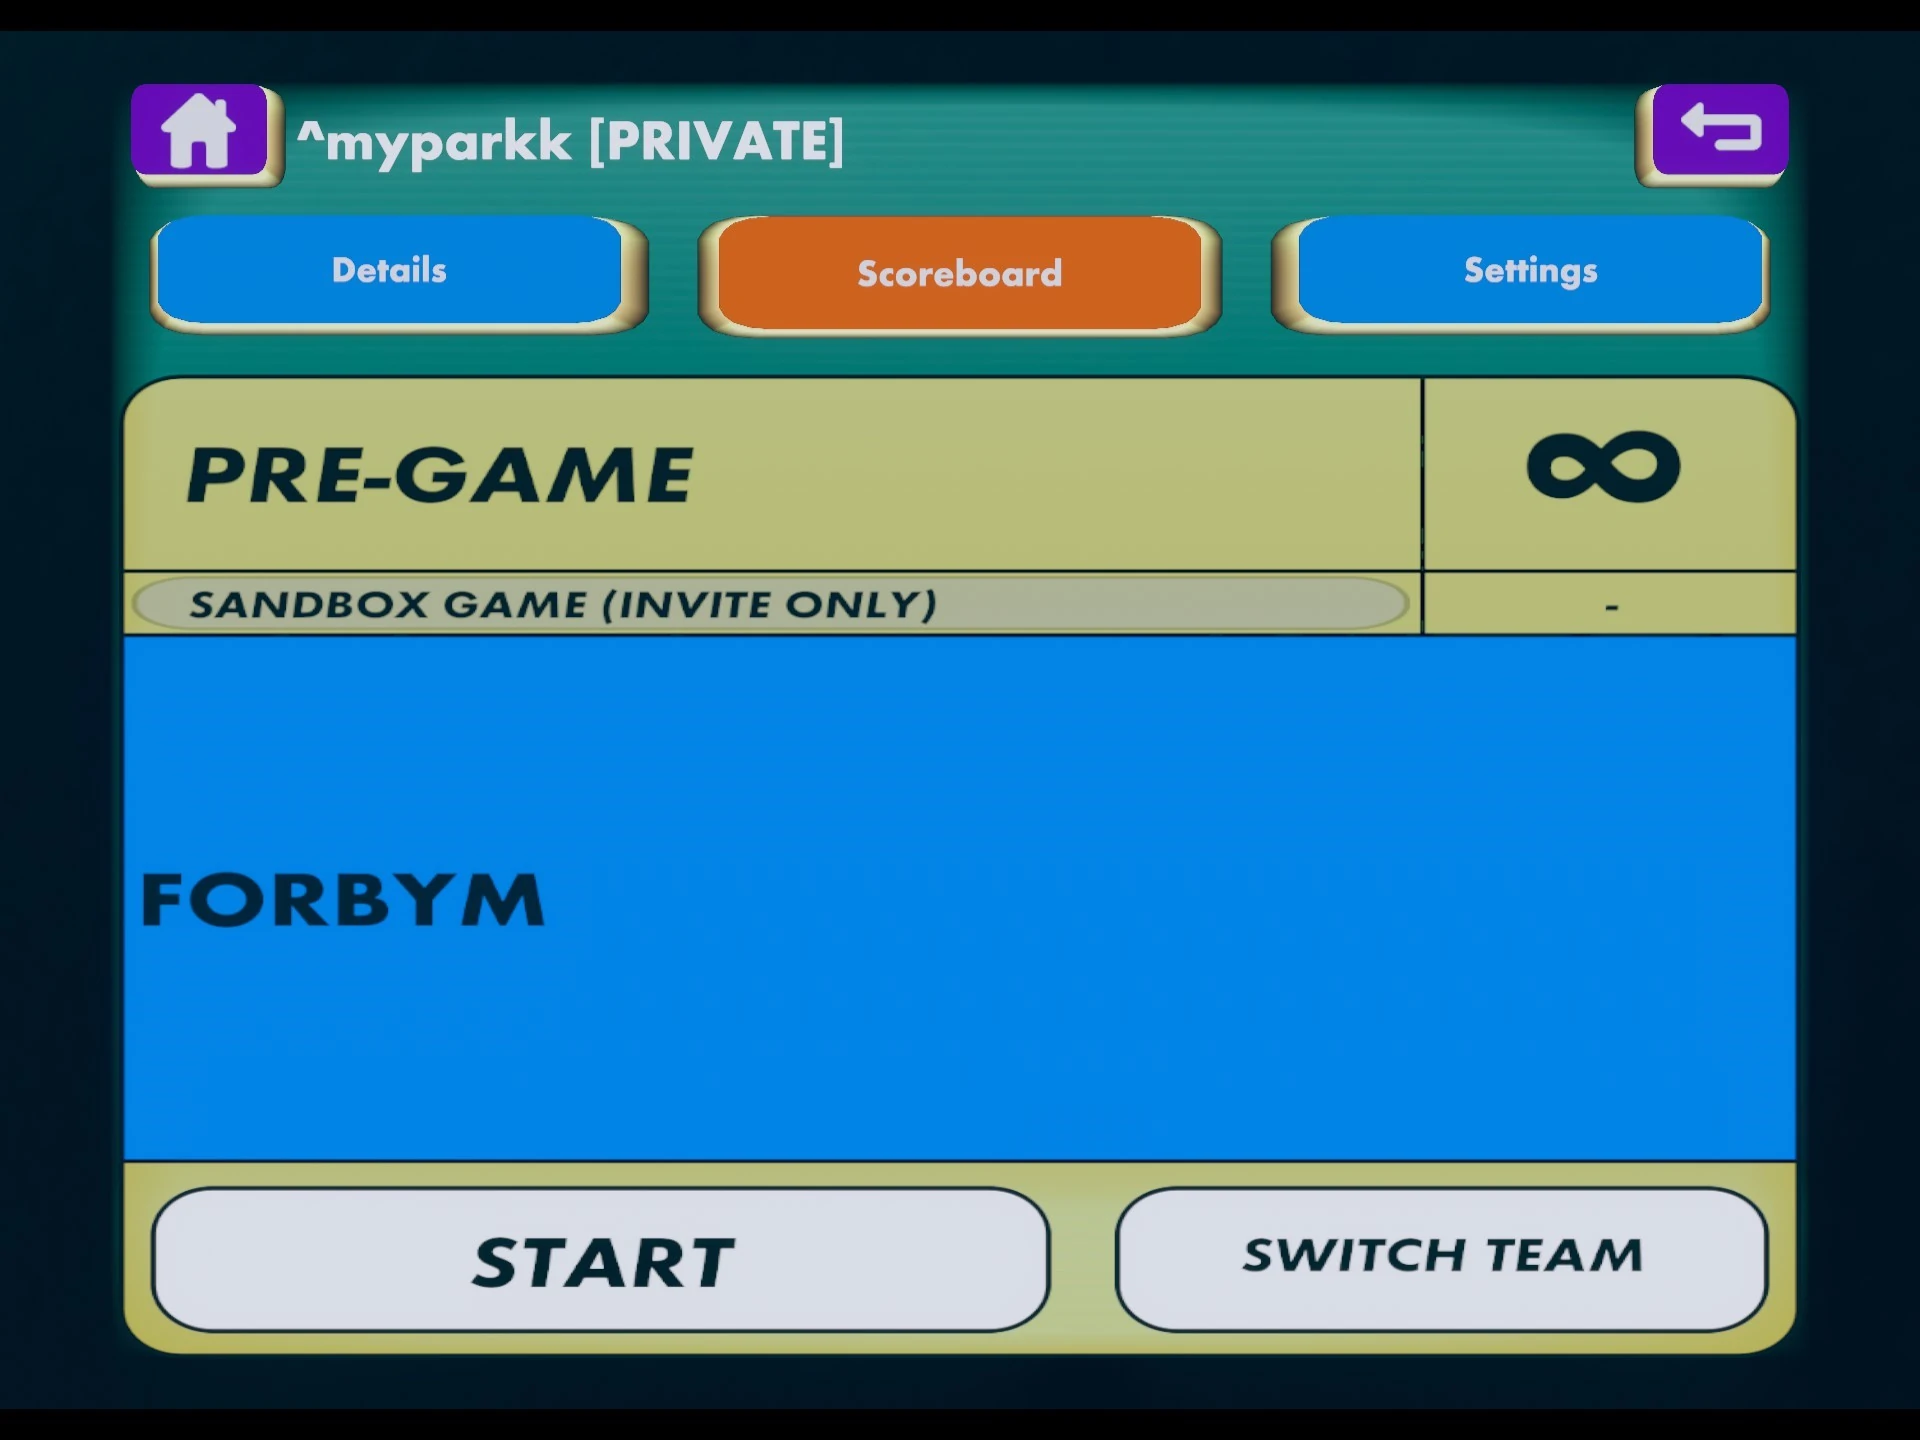

Scoreboard tab
The Scoreboard tab displays the score of the current game. If supported by the game, it also shows a button to start/stop the game and a button to switch teams.
Comments[]

How to use the feedback tool!
YouTube tutorial by Rec Room Inc.
Currently accessible via the Scoreboard tab! [more information needed]
Settings Tab[]
Settings tab
The Settings tab allows you to
- Publish a room,
- Edit the general setup,
- Edit the permissions (formerly known as "room roles"),
- Show the subrooms of the room (if there are any),
- Edit the game options (formerly known as "game settings"),
- Edit the roles (formerly known as "game roles"),
- Show the list of players banned from the room, and
- Show the current instances of the room.
- Set up currency, keys, rewards (BETA) and consumables.
- Set earnings for each Co-owner and Contributor.
- See Cloud Data, how much Cloud Data there are, where the Cloud Data is located in a subroom.
All buttons open new pages that are described next.


Publish Room page
Publish Room[]
The "Publish Room" button opens a page that allows you to set the name, description, and 3 Room Tags for a room before your publish it. You can also allow other players to copy the room (i.e., make a new room that they own, which contains a cloned version of everything in your room) and specify which types of movement (Walk VR, Teleport VR, and Screen Mode) are supported by the room, whether Junior players are allowed in the room, and whether the microphone auto mute is active in the room.
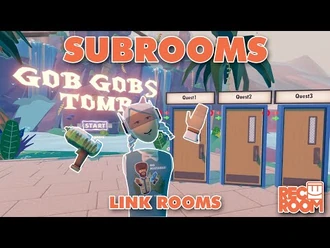
How to create and link Subrooms!
YouTube tutorial by Rec Room Inc.
Subrooms[]
The "Subrooms" button opens a list of all subrooms that directly or indirectly are parented by the same room.
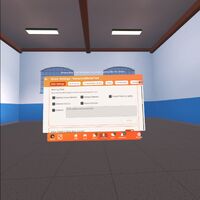
General Setup[]


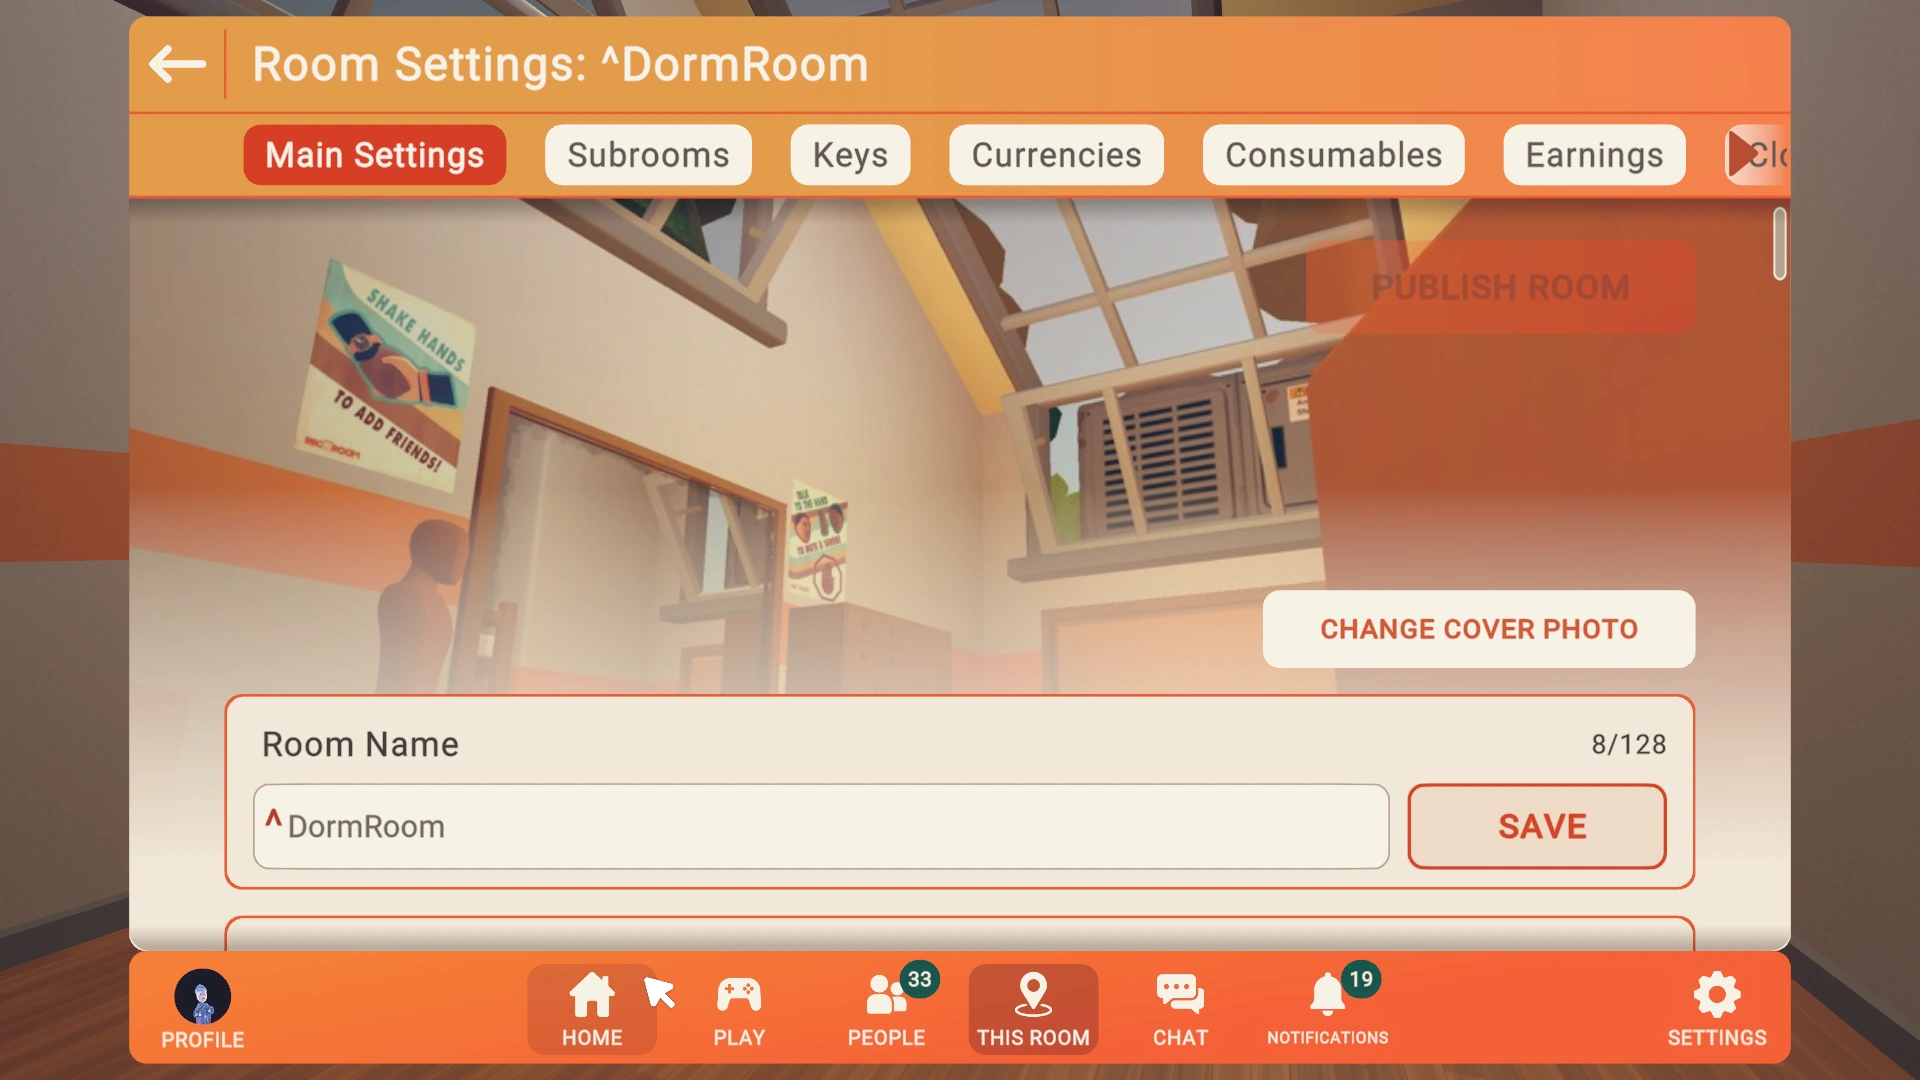
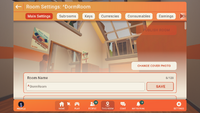
Room settings tab

Content Warnings


Subroom settings tab
The "General Setup" button brings you to two tabs:
- The "Room Settings" tab includes checkboxes to specify
- whether other players are allowed to copy the room,
- which types of movement (Walk VR, Teleport VR, and Screen Mode) are supported by the room,
- whether Junior players are allowed,
- whether the microphone auto mute is active, and
- a button to edit content warnings that appear when players enter a room.
- The "Subroom Settings" tab allows you to specify
- a name for the subroom,
- a parent room,
- whether this room is the entry point for the parent room,
- whether host-only areas are enforced (usually stages),
- whether invisible walls are enabled, and
- the maximum number of players.
- For the Maker Room, it also allows you to set a "Mood", i.e. the kind of environment lighting in the room.

Standard Game Options
Game Options[]
The "Game Options" button opens a page that offers buttons to start/end a game, switch teams, and revive yourself.


Permissions overview (formerly known as room roles)
Permissions[]

Edit Room Permissions!
YouTube tutorial by Rec Room Inc.
The Permissions button opens an overview of the various built-in permissions (formerly known as "room roles"), i.e., "Creator", "Co-Owner", "Contributor", "Host", "Everyone" else, and the (noneditable) "Defaults". You can assign permissions to any of your friends by tapping the people button next to the specific permissions. The "Only show my permissions" checkbox shows all your permissions. If your current permissions specify different values for the same setting, the top-most permissions take precedence.
Clicking on the gear button next to specific permissions shows the relevant settings in three tabs. The bottom-most default permissions specify all settings. If permissions further up in the list (towards the top of the page) do not override a setting with a new value, the setting is determined by your top-most permissions that specify a value.
- The Creative tab includes: Can View Gadgets?, Can Use Maker Pen?, Can Use Delete All Button?, Can Save Inventions?
- The Social tab includes: Vote Kick, Can Invite?, Can Talk?, Disable Mic Auto Mute?
- The Misc tab includes: Can Use Share Camera?, Can Print Photos?, Can Revive Self?, Auto Assigned Game Roles, Can Start Games?, Can End Games Early?, Can Change Game Mode?
")
")
")
Players who "Can Revive Self?", "Can Start Games?" and "Can End Games Early?" will have corresponding buttons in their Game Options. The auto-assigned game roles in the Misc tab allow you to assign specific (game) Roles (by name; ignore the "#") to players with specific permissions as soon as they enter an instance of a room. For example, you could add a (game) role that allows flying and auto-assign it to the "host" permissions such that all hosts can fly.
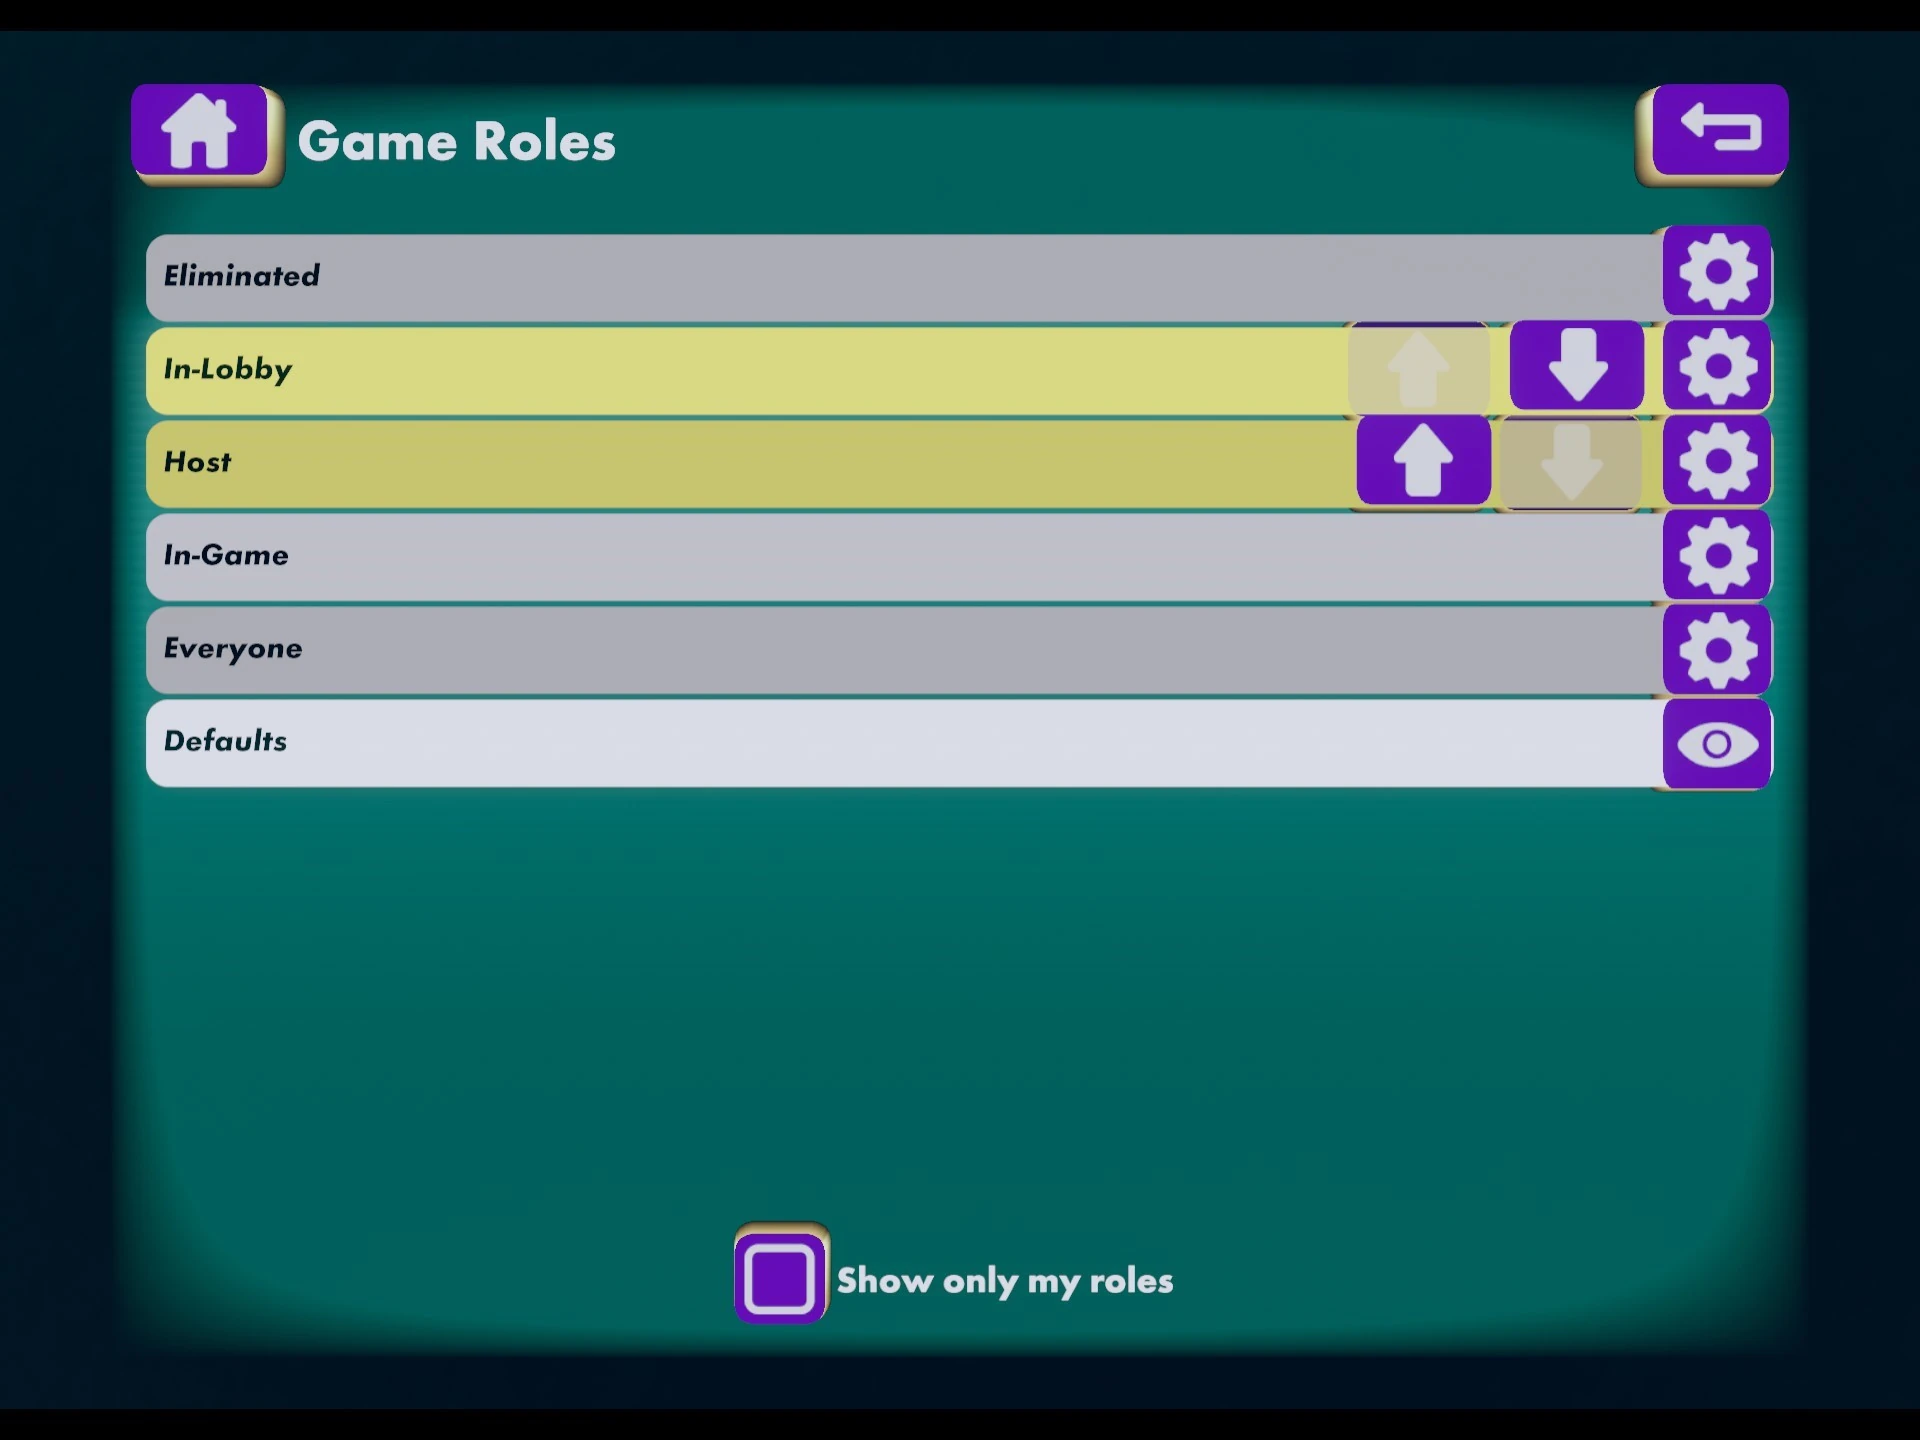
Roles overview

How to set up Roles in your rooms! (games - flying - wall running - voice volume)
YouTube tutorial by Rec Room Inc.
Roles []
The "Roles" button opens a list of all roles of the room (formerly known as "game roles"). Roles define the capabilities of a player in a room based on the current state of the player in a room (e.g., being eliminated because of no health). Roles can change based on events such as the game start or with the Role Mapper chip. The standard game roles are: "Eliminated", "In-Game", everyone else in the room, and the (noneditable) "Defaults". Properties of roles are defined with the Role chip. The "Show only my roles" checkbox shows all of your current roles. If your current roles specify different values for the same setting, the top-most role takes precedence.
Clicking on the gear icon next to a role shows the specific settings of the corresponding Role chip in the Palette. (To access it, you might have to grab a maker pen that spawns in front of you.) The bottom-most default role specifies all settings. If a role further up in the list (towards the top of the page) does not override a setting with a new value, the setting is determined by your top-most role that specifies a value.
Meetup Tab[]
How To Rec Room - Meetups!
YouTube tutorial by Rec Room Inc.
The Meetup tab allows you to create a Meetup Code and Meetup Link that you can send to other players to easily meet in a private room. On most platforms, invited players have to enter the Meetup Code in the Play Menu; on iOS, invited players can just click on the link.
People Menu[]
(Outdated)
The four tabs of the people menu allow you to show the list of other players in the same room, players you have befriended, players you have been in a room with recently and people you have subscribed to. You can also search for other players by their name. With the blue "+" button, you can invite a player to your room.
")
")
.png "Watch Menu - People (Subscriptions).png (883 KB)")
")
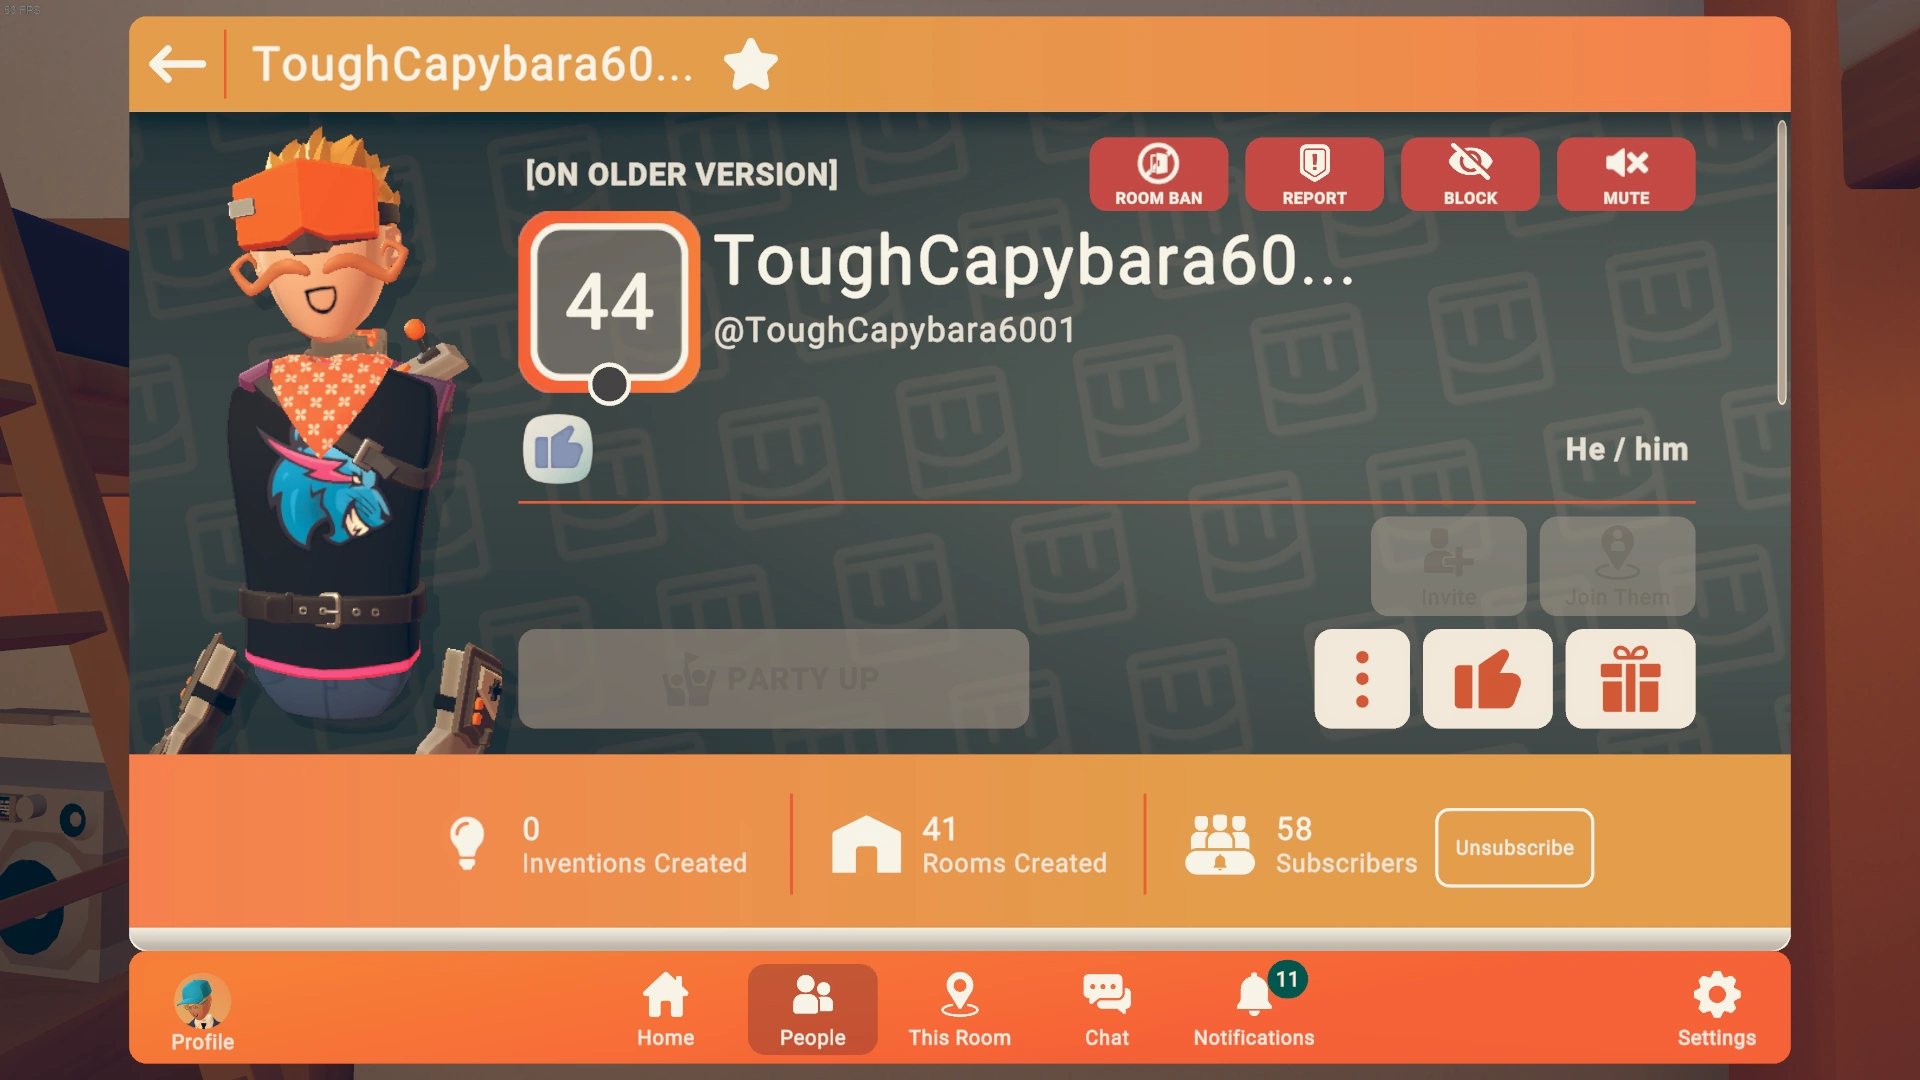

Profile screen for another player
By tapping the profile image of another player, you can open up their profile screen, where you can:

Creator Portfolios and Announcements
YouTube tutorial by Rec Room Inc.
- (Un)Favorite (favorites appear first in your friends list)
- (Un)Subscribe
- (Un)Block
- (Un)Mute
- Report (including initiating a votekick)
- Message (only to friends and non-juniors)
- (Un)Friend
- Ban from your rooms
- Cheer
- Gift
- Invite to your room
- Go to the room where the other player is (requesting an invite if it is a private room).
Messages Menu[]

Notifications tab
The Notifications tab lists your most recent notifications that may require your attention, such as friend requests, friends coming online, invitations to rooms, requests for an invitation to your room, votes to kick/report other players in your room, or errors that Rec Room may experience.

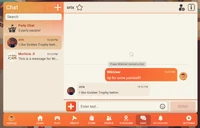
Messages tab
The Chats tab shows a list of ongoing chats with other players with the most recent message in each chat. You can see the other messages of each chat with its "Open" button. The "New Chat" button allows you to start a new chat.
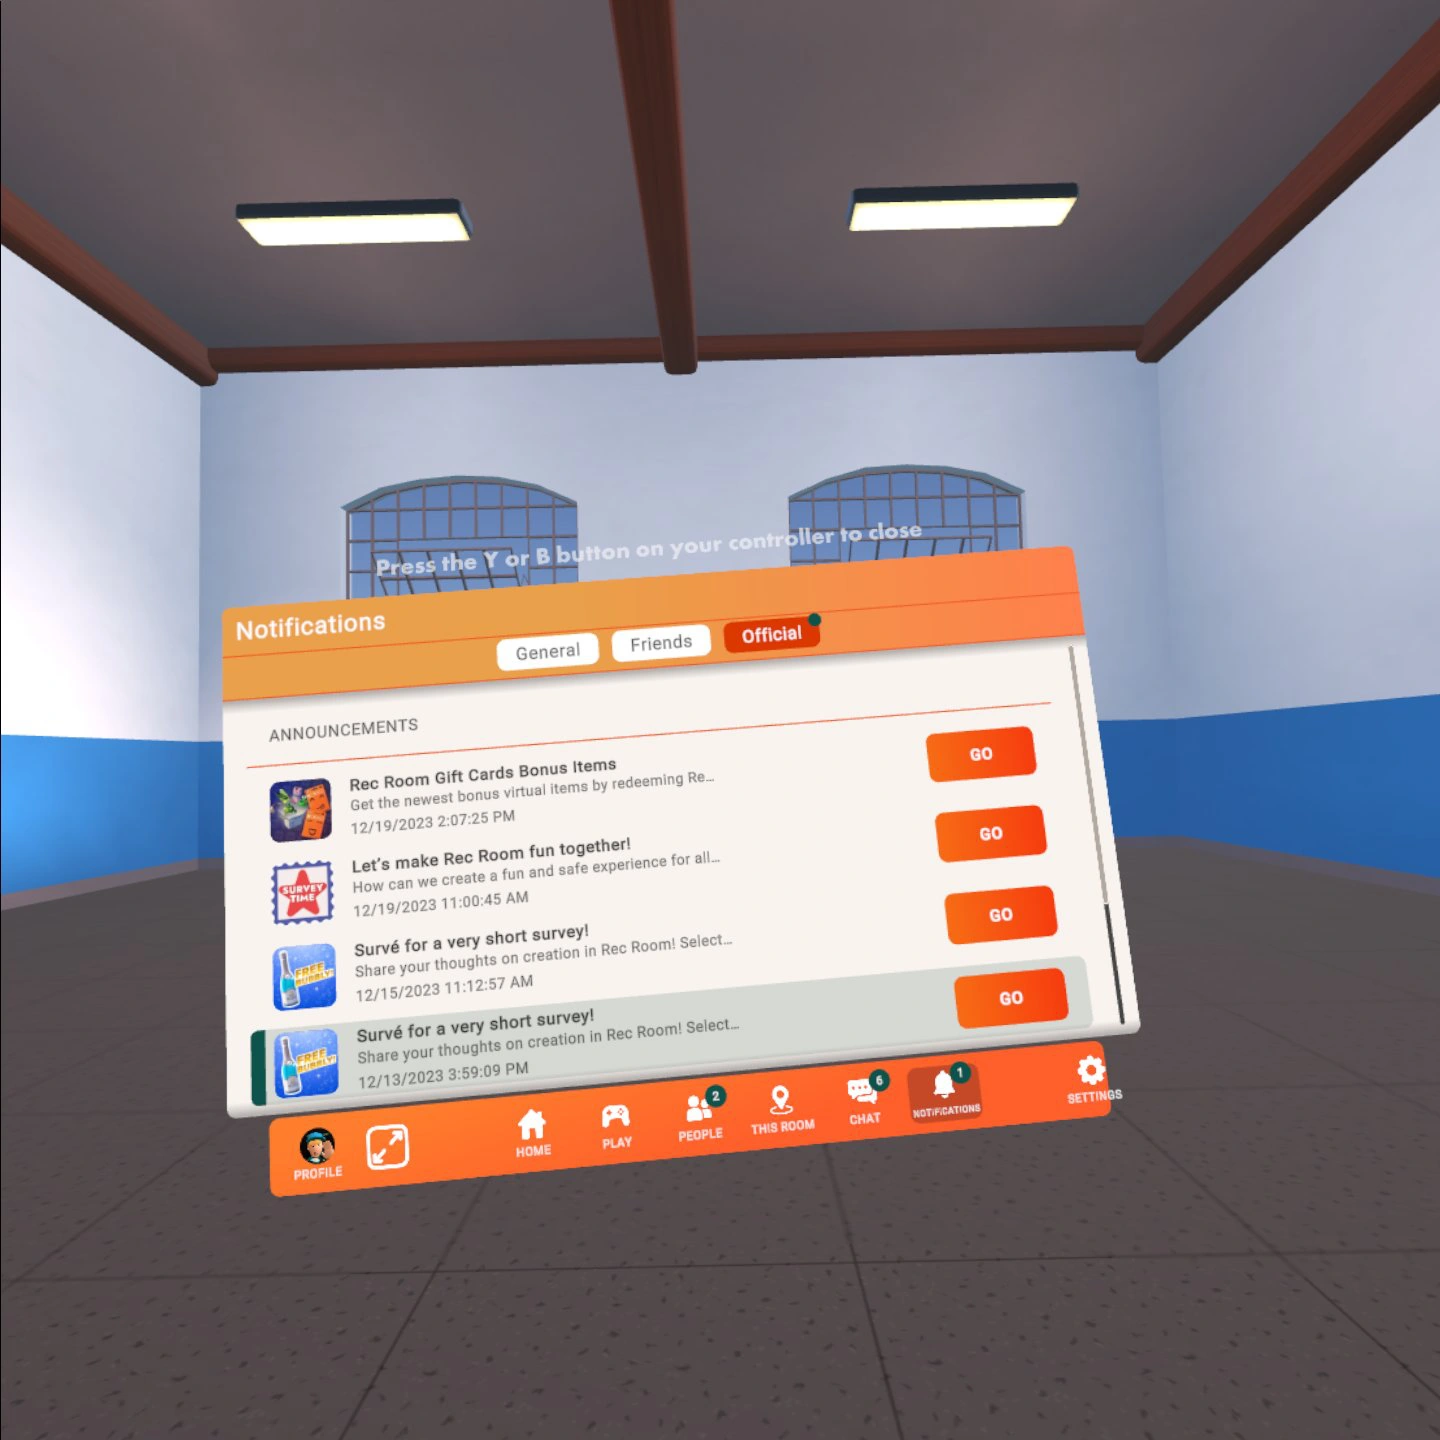

Announcements Tab
The Announcements tab displays any official announcements or news from the Rec Room team, like a new item being released or if a new feature is added to the game.
Challenges Menu[]
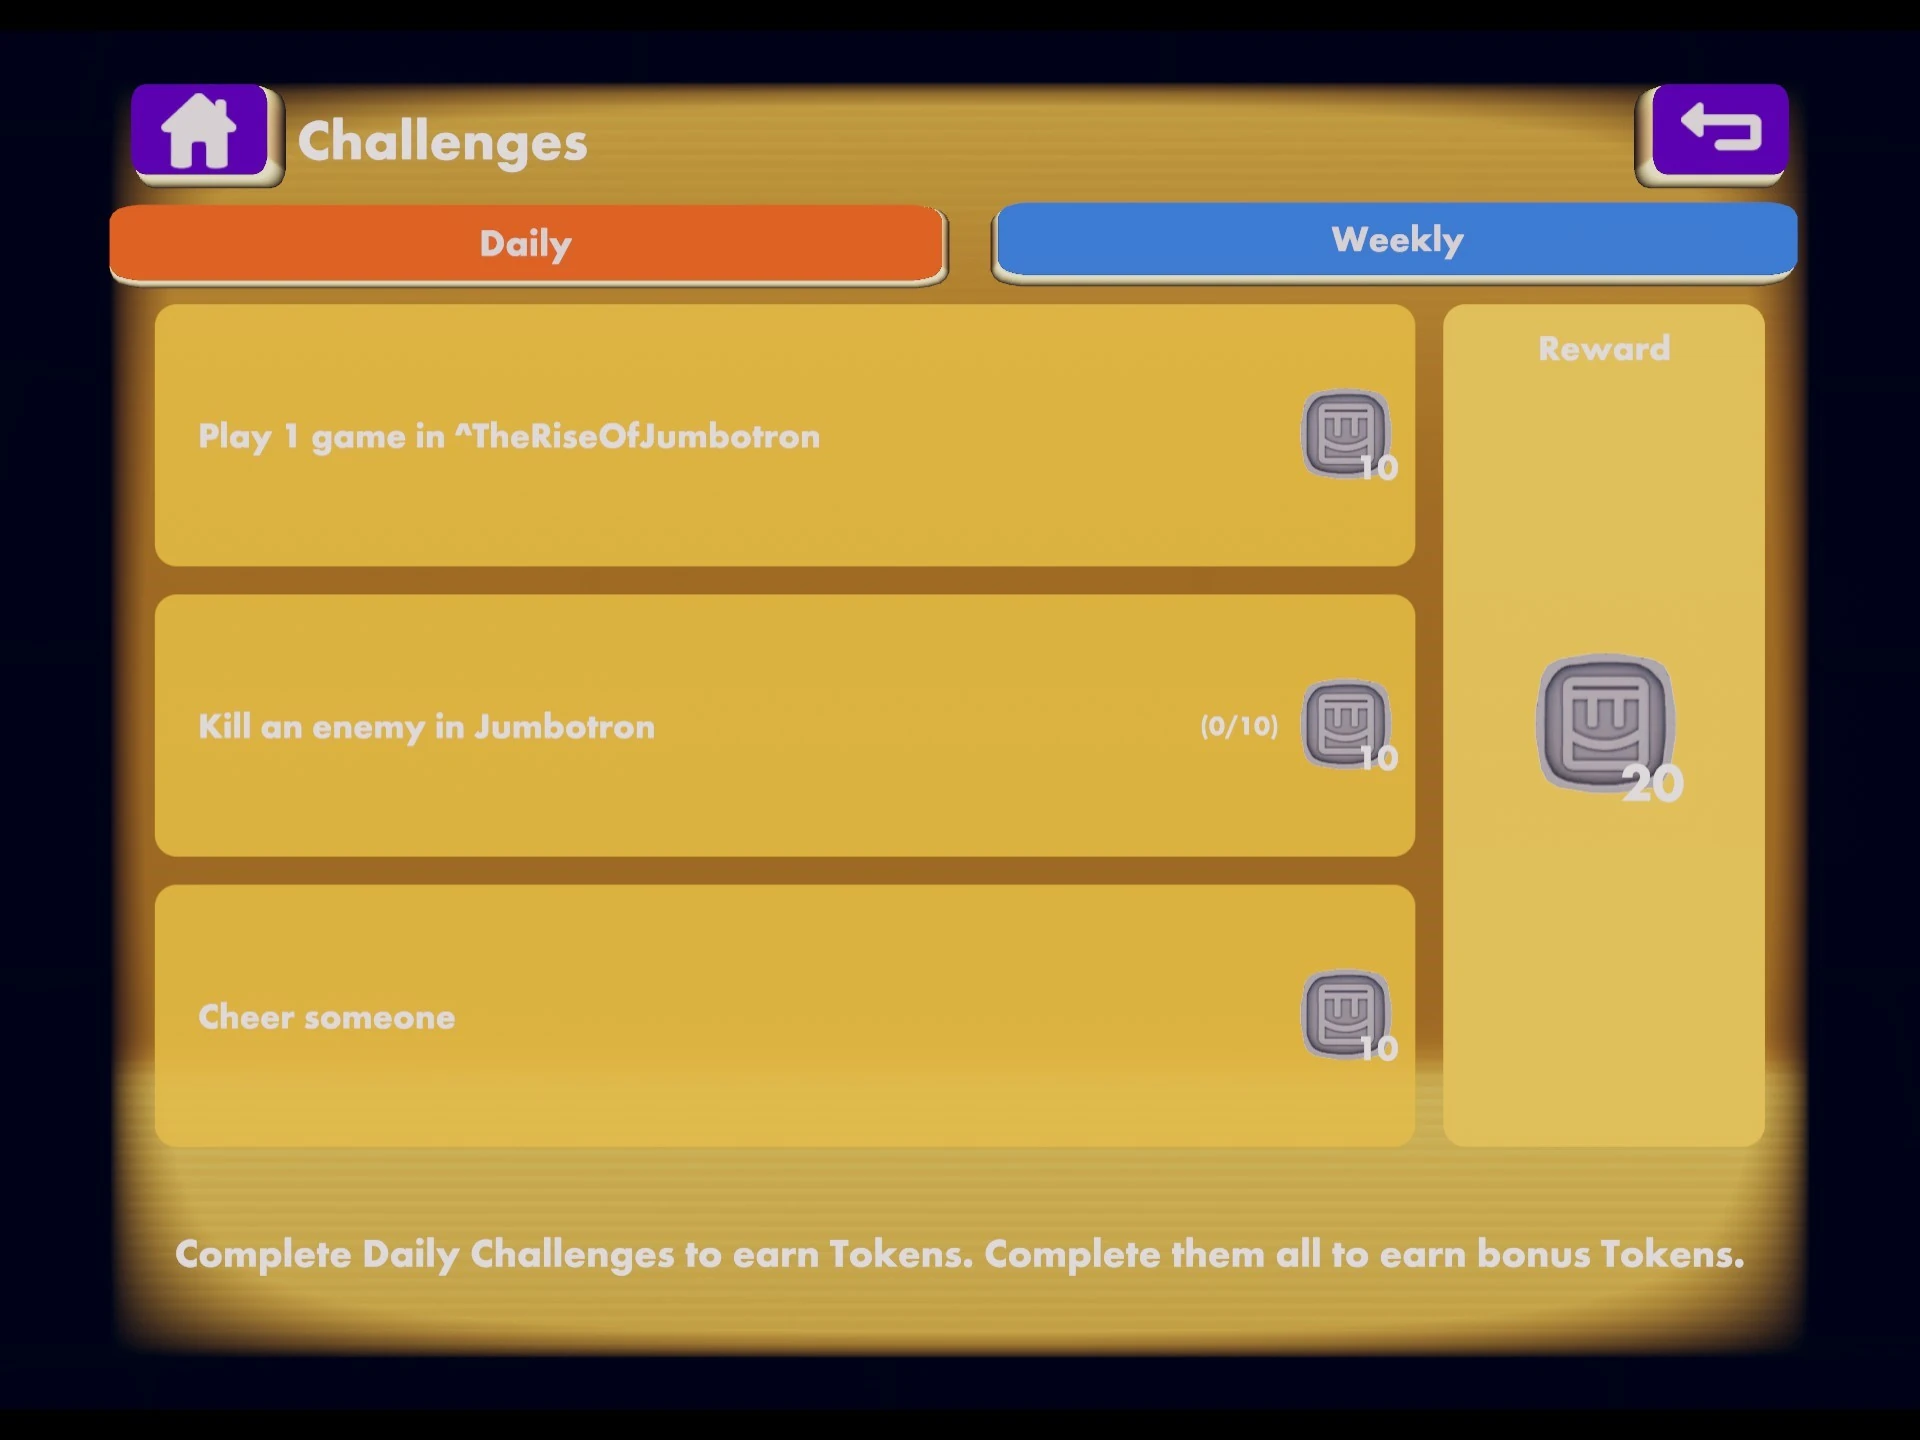
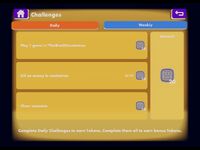
Daily challenges and rewards
The challenges menu contains a players daily and weekly Challenges. Once all daily challenges are completed, the game will let the player choose 1 out of 3 randomized items to keep/collect. Hovering over the challenge text provides more detailed information about the challenge.
Daily challenges used to give tokens for every challenge complete and when every challenge got completed.


Weekly challenges and reward
Players earn a Cosmetic Item (usually an Item Skin) for completing three out of five weekly Challenges. Hovering over the challenge text provides more detailed information about the challenge.
Backpack Menu[]
The "Backpack" button allows you to access your Camera, the Maker Pen, the Feedback Tool your Item Skins, and any Consumables that you currently possess. Tap the "Use" or "Equip" button to use any of the items. For tools, tap the "Favorite" button to choose one tool that you can grab from behind your shoulder (like the map in Rec Royale) whenever you are allowed to use it.
.png "Watch Menu - Backpack (Tools).png (515 KB)")
.png)
.png)
.png)
")
")
")
")
How to use the feedback tool!
YouTube tutorial by Rec Room Inc.
Clubs Menu[]
Rec Room UPDATE - Clubs - how to join, create, and manage a club
YouTube tutorial by Rec Room Inc.

Club Events Update (host or attend huge club events!)
YouTube tutorial from Rec Room Inc.
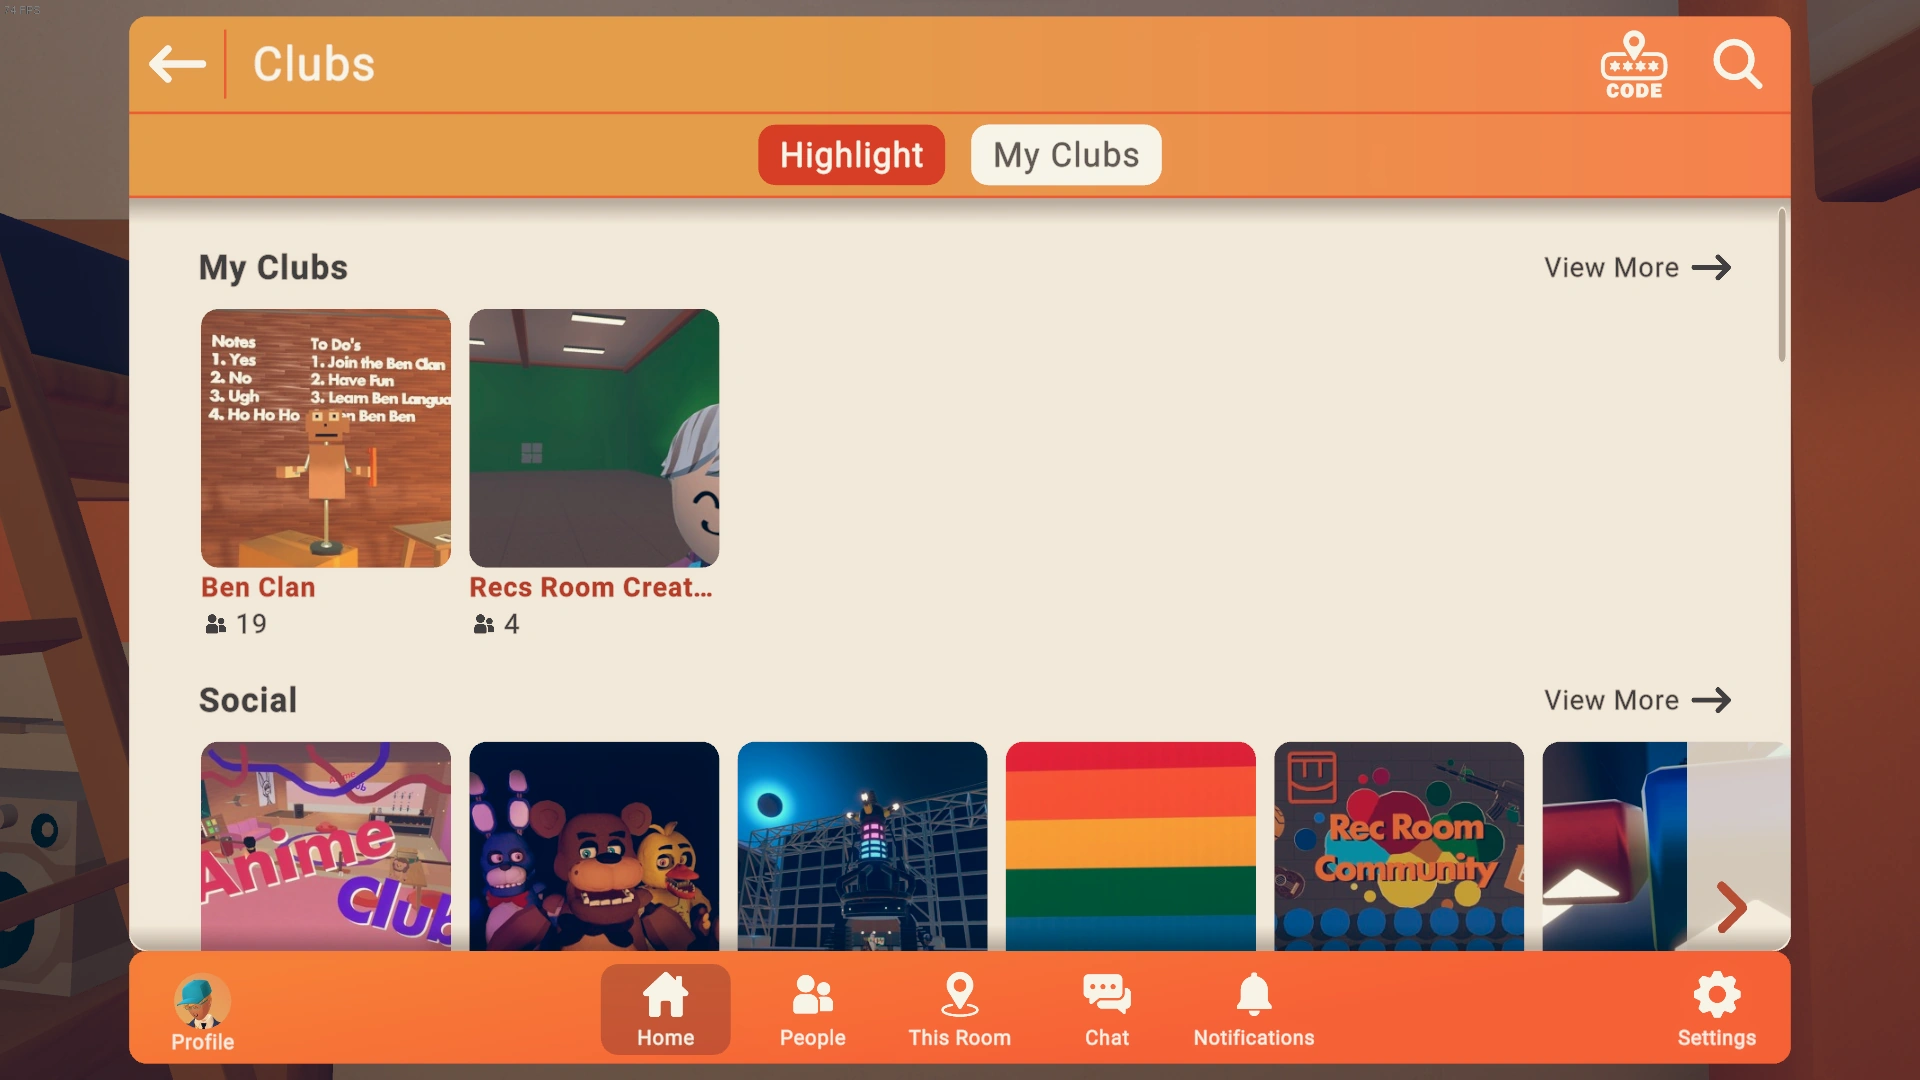
Main Club page
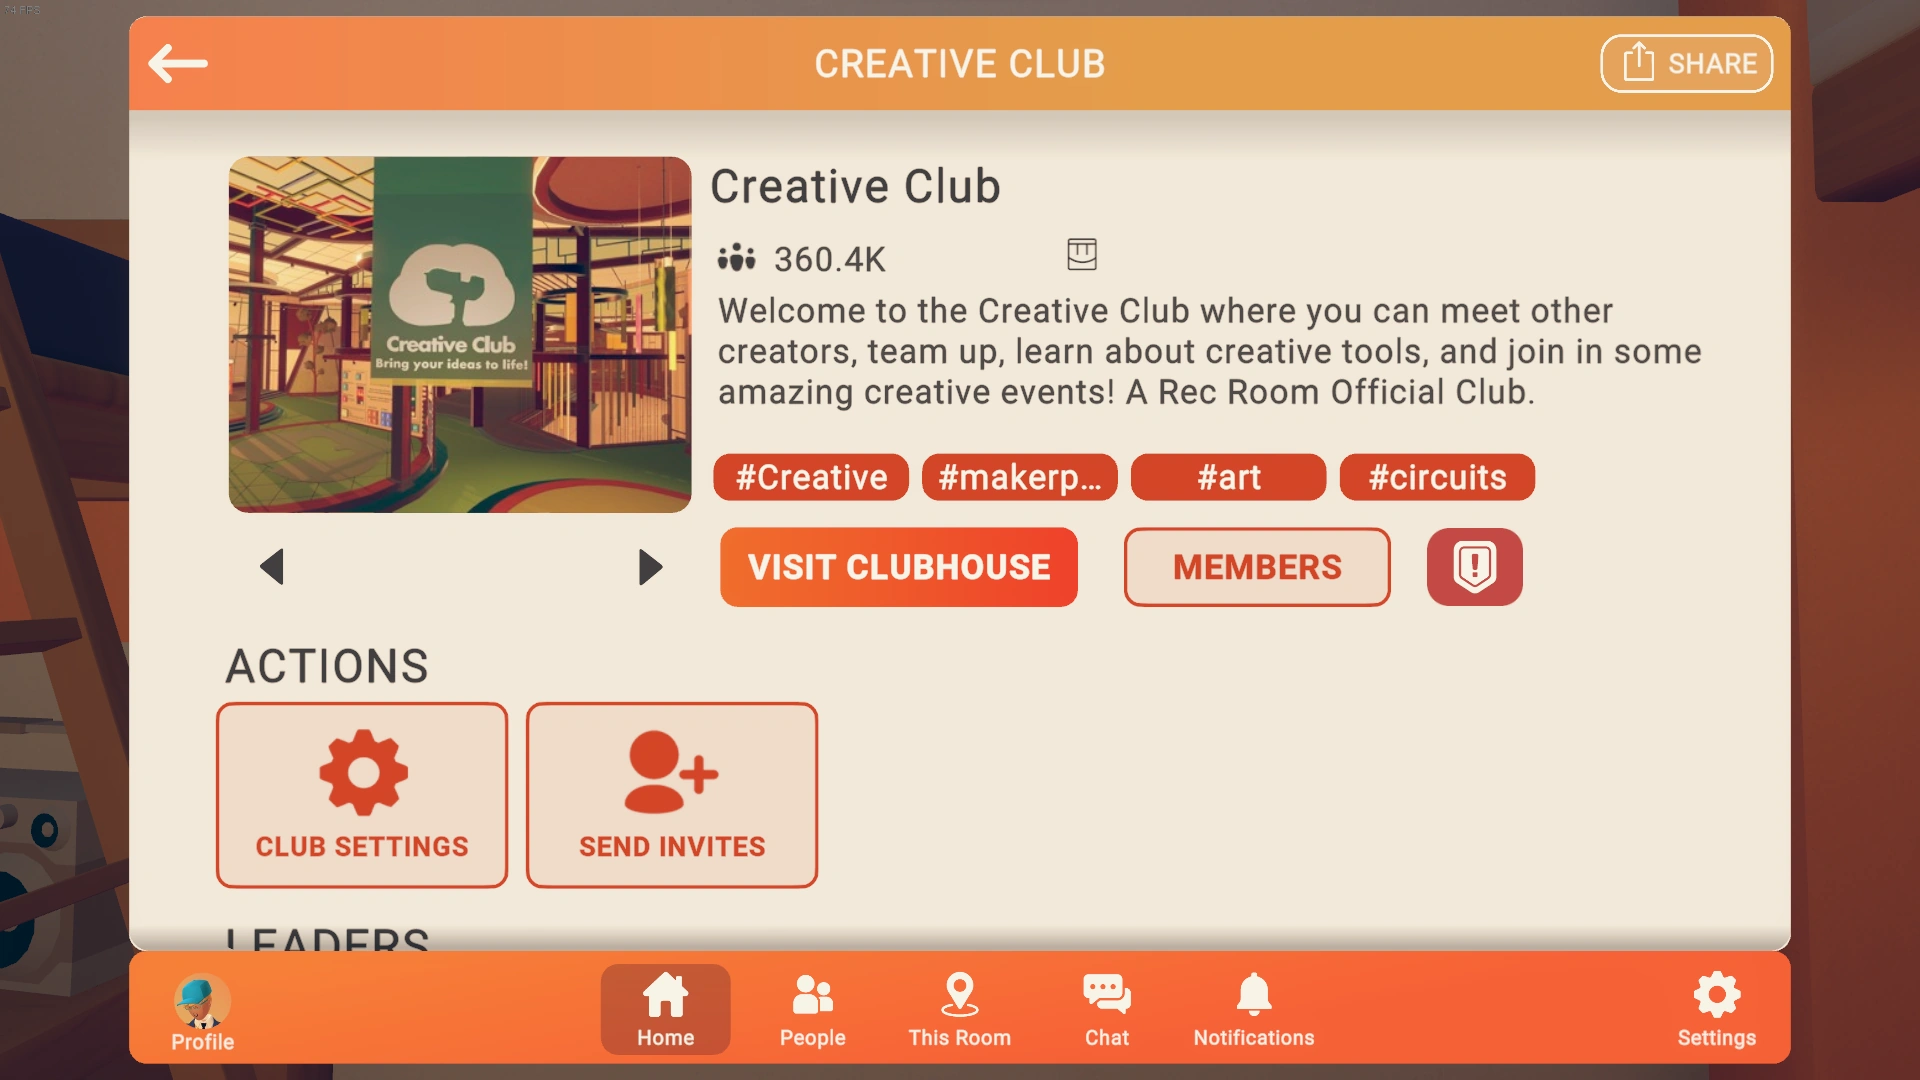
The "Creative Club" Club
The Clubs menu allows you to find groups of people who have the same interests/topics/reasons as you. There are multiple categories of clubs to choose from, such as casual, competitive, creative and fan clubs with many more being made.
You can create up to five different clubs as well as join a seemingly infinite amount of clubs. All clubs are subject to the Code of Conduct and failure to meet code standards may result in a club being removed.
There are four roles in every club, Owner, Co-Owner, Moderator and Member. The Owner role can edit the Club name, picture, club category and description of the club as well as the tags and Club House if there is one set. They can also send announcements and events to all members within the club as well as have ban permissions. Co-Owners and Moderators can have different permissions set by the Owner, such as editing all club details, inviting and managing join requests, editing permission details, managing club ban list and creating club announcements and events.
All club announcements and events can be viewed in the notification section of the message button as well as the “Actions” section of the club.
Other than just making clubs, you can also make clubhouses for them. For this, you'll need a room. You can create a room by going to your watch menu and clicking the "Create" button. After you finish making your room, you can go back and make the clubhouse for the club (Clubhouse rooms don't have to be published). To set the clubhouse of the room, go to the page of your club. After that, scroll down and click the "Club Settings" button. Scroll down once again, and you will find the "Set Clubhouse" button. Click it, and a list of your rooms will popup. Find the room you would like to be the clubhouse for your club, click it, now your clubhouse has been set. Just one more thing - scroll all the way to the bottom of the club setting page, and click the "Save" button. Now your clubhouse has been created!
This section is still a rough draft; there is more information to be added soon.
Store Menu[]
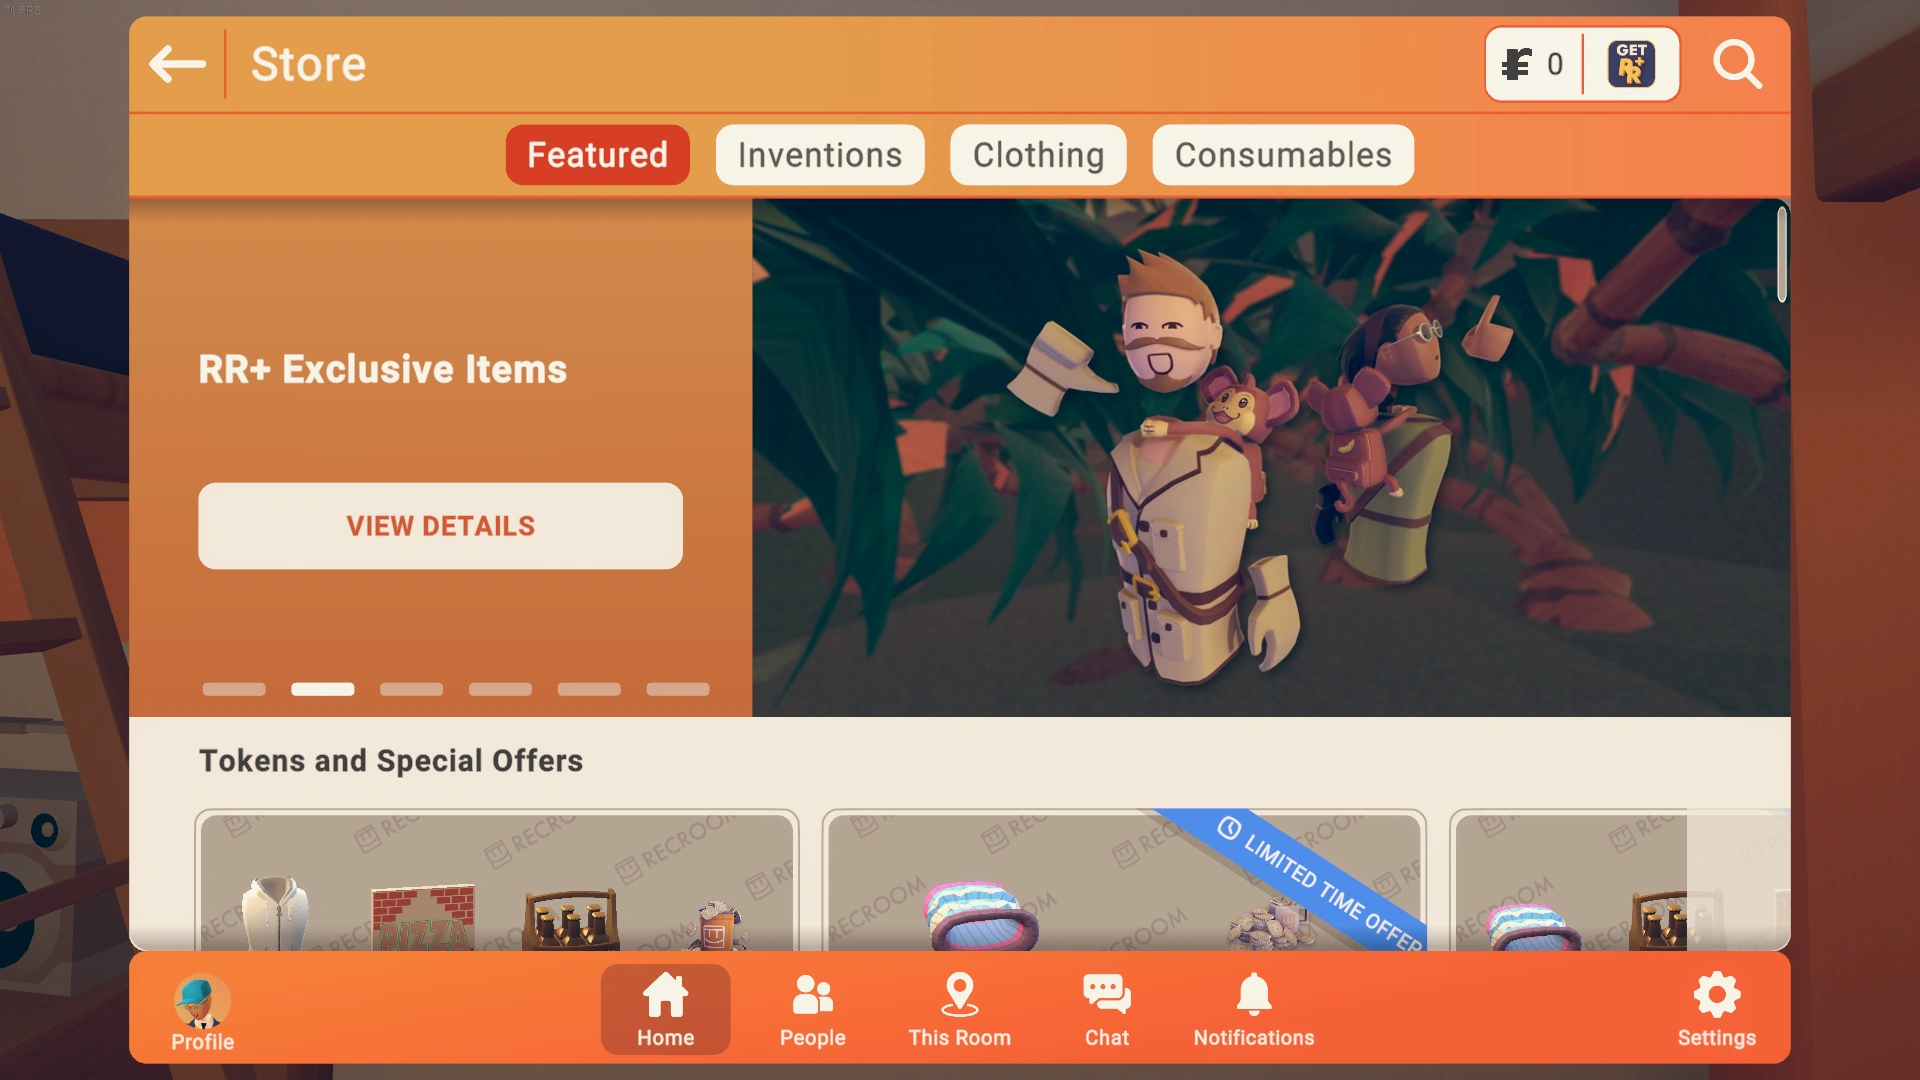
Store front page
The "Store" button allows you to buy Cosmetic Items and Consumables for tokens similarly to the Merch Booth. The store front page includes buttons to featured categories and items as well as the general "Enter Store" button, which does not choose any specific category of items.


Invention page
The "Inventions" tab allows you to browse and obtain Inventions that you can spawn in your own Custom Rooms with help of the Palette. You can filter inventions by popular tags (Art, Character, Costume, Decor, Gadget, Environment, Weapon, Sound), show only your inventions, only recently published inventions, only inventions that allow editing, only inventions that allow republishing, and only inventions of specific Maker Pen Ink Costs.

The "Clothing" tab allows you to browse Cosmetic Items. Note that some Cosmetic Items require you to reach a specific Level to purchase them. Also note that not all Cosmetic Items in the game are available in the store (for example, Quest rewards and rewards for weekly Challenges are not). You can filter the list of items to show only purchasable items, items that you already own, and items that are still locked because you haven't reached the required Level. You can also filter by type of item (Hats, Hair, Accessories, Shirts, Gloves), and by number of stars.

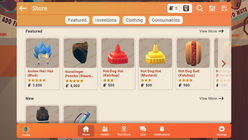
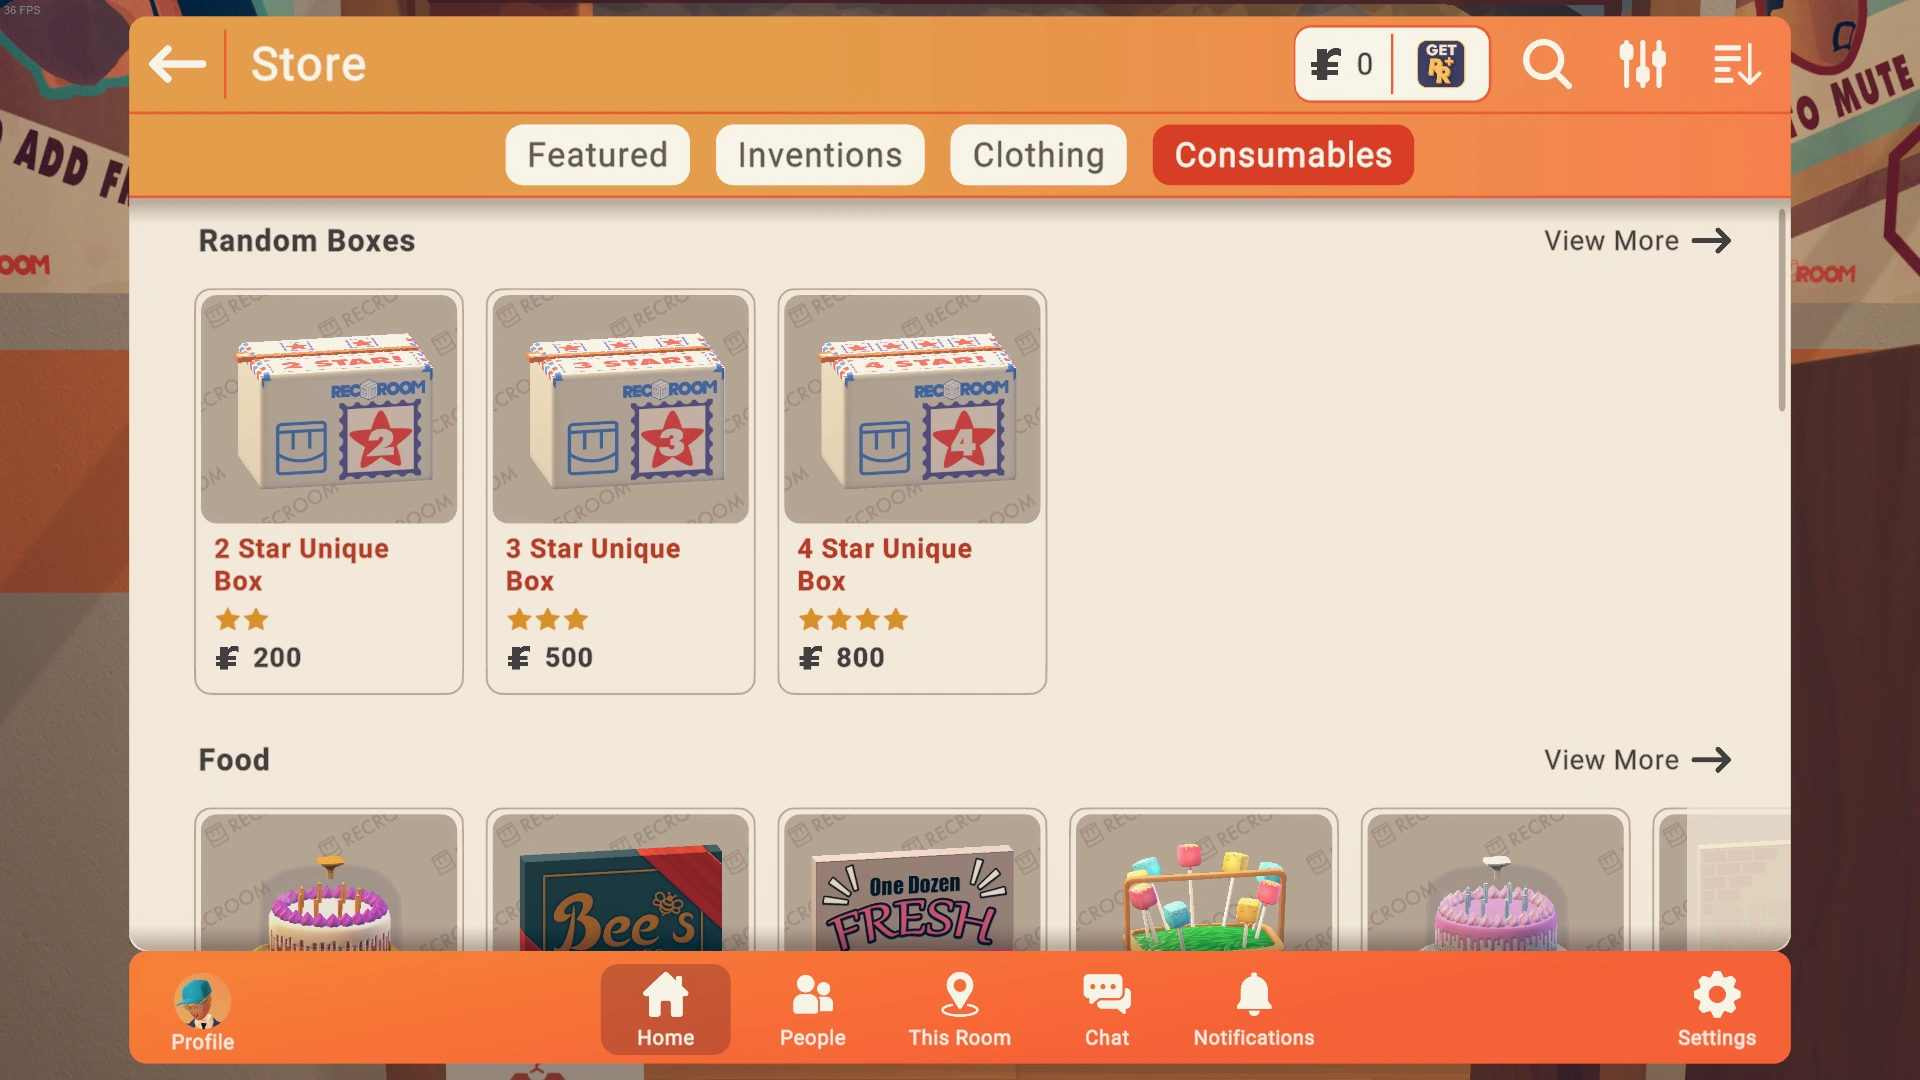
The "Consumables" tab includes Consumables and "unique" boxes. A "unique" box contains a random Cosmetic Item (of a specific number of stars) that you don't own yet. You can filter the list of items to show only purchasable items, items that you already own, and items that are still locked because you haven't reached the required Level. You can also filter by type of item (film, potions, food, unique box, hair dyes, others), and by number of stars.

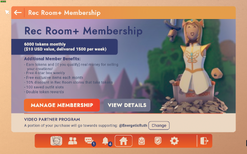
The "RR+ Items" tab includes items which are exclusive to and only purchasable by players who have purchased a subscription to Rec Room Plus. You can not gift any of these items to other players.


How To Rec Room - How to Earn Tokens!
YouTube tutorial by Rec Room Inc.
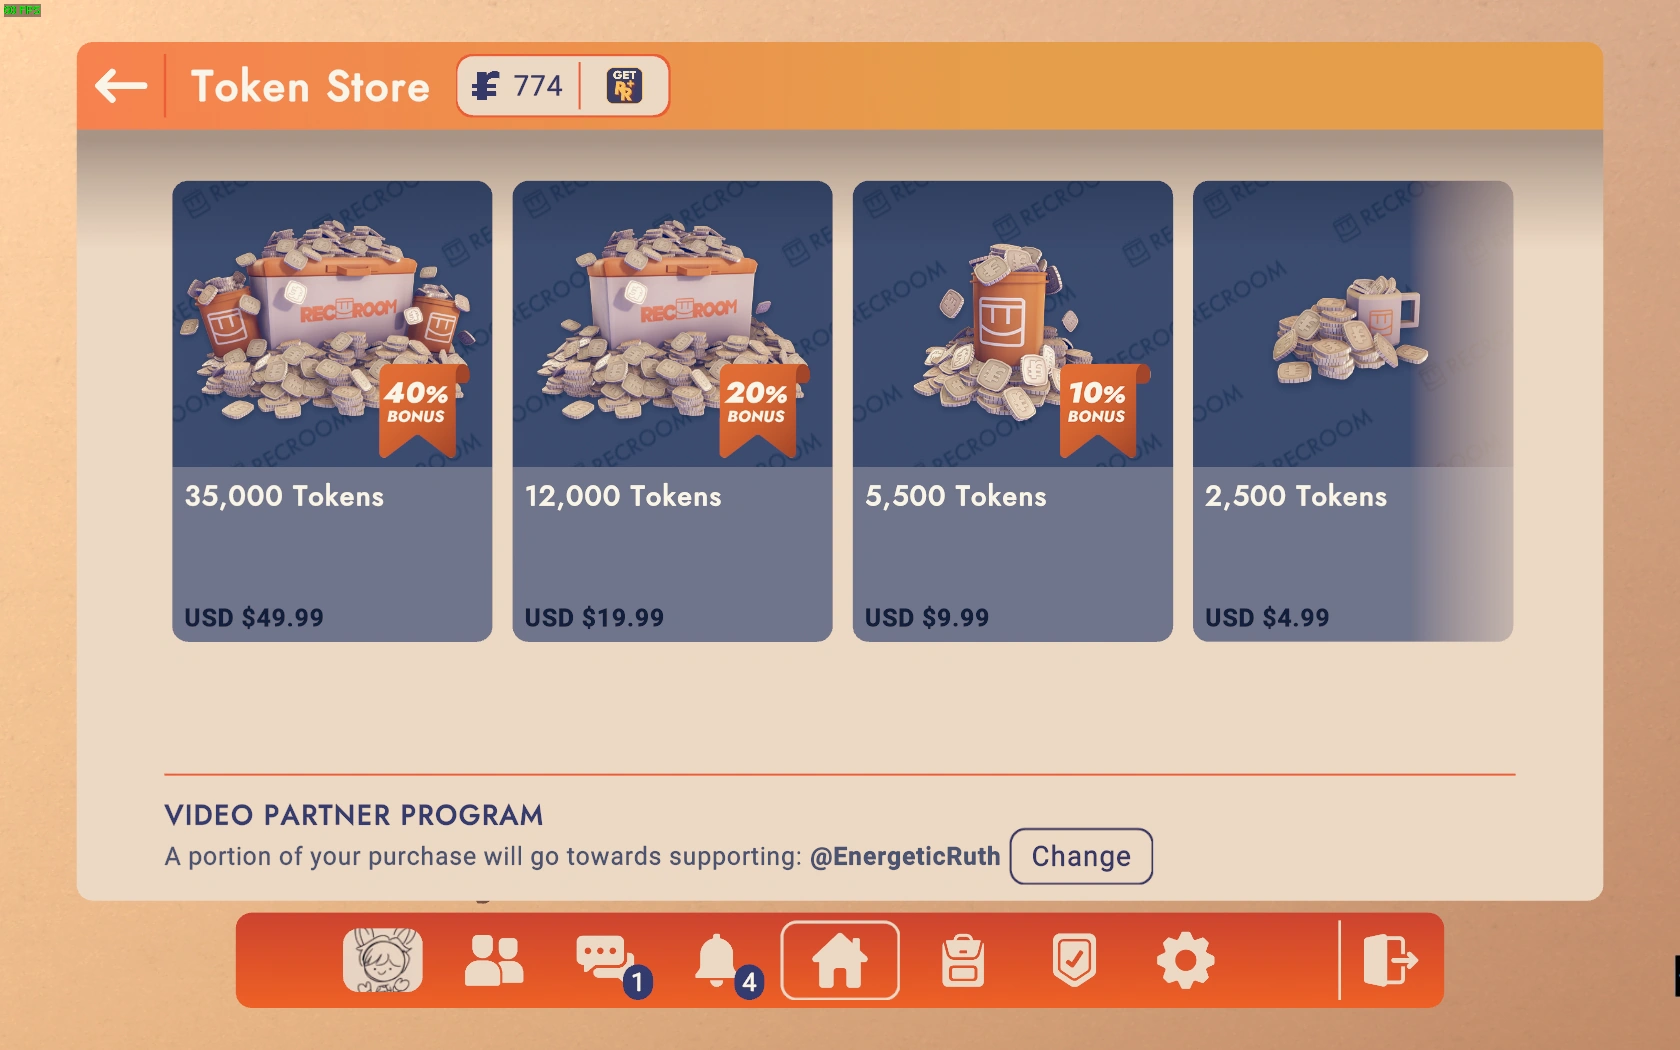
The "Get Tokens" button allows you to buy tokens for real money via your platform's store (Steam Store, Oculus Store, etc.). Note that tokens that you buy on PlayStation can't be used on other platforms, and tokens from other platforms can't be used on PlayStation.
See the description of Packages for other ways to obtain tokens.
Former Menu Names[]
Setup Tab[]
"Setup Tab" was renamed to Settings Tab.
Game Settings[]
"Game Settings" was renamed to Game Options.