| “ | Robot invaders threaten the galaxy... Do you have what it takes to board the mothership and defeat their fearsome leader Jumbotron? Team up with your friends and bring the laser heat! | ” |
— Rec Room Inc.
|
Gallery[]
- 📷 For concept art and more, see: Image Gallery.
About[]
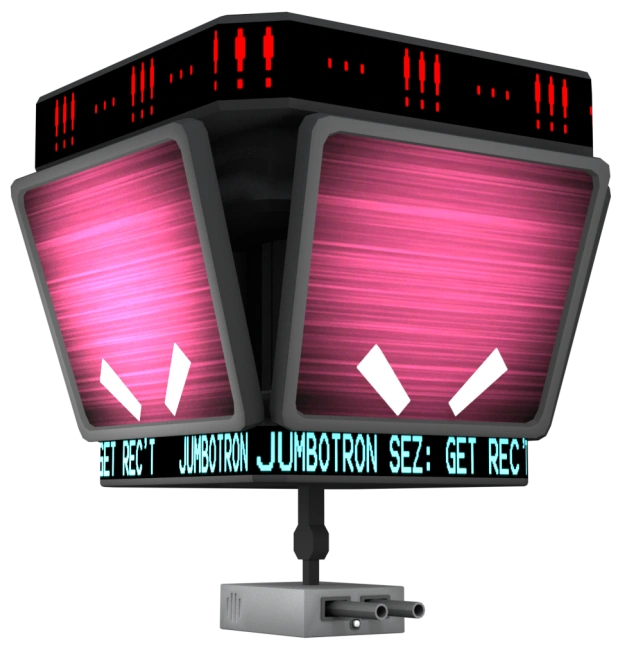
Jumbotron as seen in game
The Rise of Jumbotron is the second Quest available to players. It is set in a futuristic-themed world with laser guns and robotic enemies. It is a difficult and long challenge, and if you want to survive you will need to stay near cover and communicate with your teammates.
The #RecRoomOriginal room ^TheRiseOfJumbotron is a #pickup room, i.e., teleporting and "walking" VR players as well as Screen Mode players may play in the same room.
A mini-update in December 2018 added back holsters to the game. This allows players to carry a weapon in each hand plus one on their back.
Community Gameplay / Tutorials[]
 We Beat Quest- "The Rise Of JumboTron On My First Try! Example of a full playthrough of The Rise of Jumbotron |
 Rec Room- Jumbotron Solo Tutorial |
Walkthrough[]
After gathering your team, one of you has to activate the "Start" button by pointing at it with a virtual laser pointer and pulling the trigger of your controller.
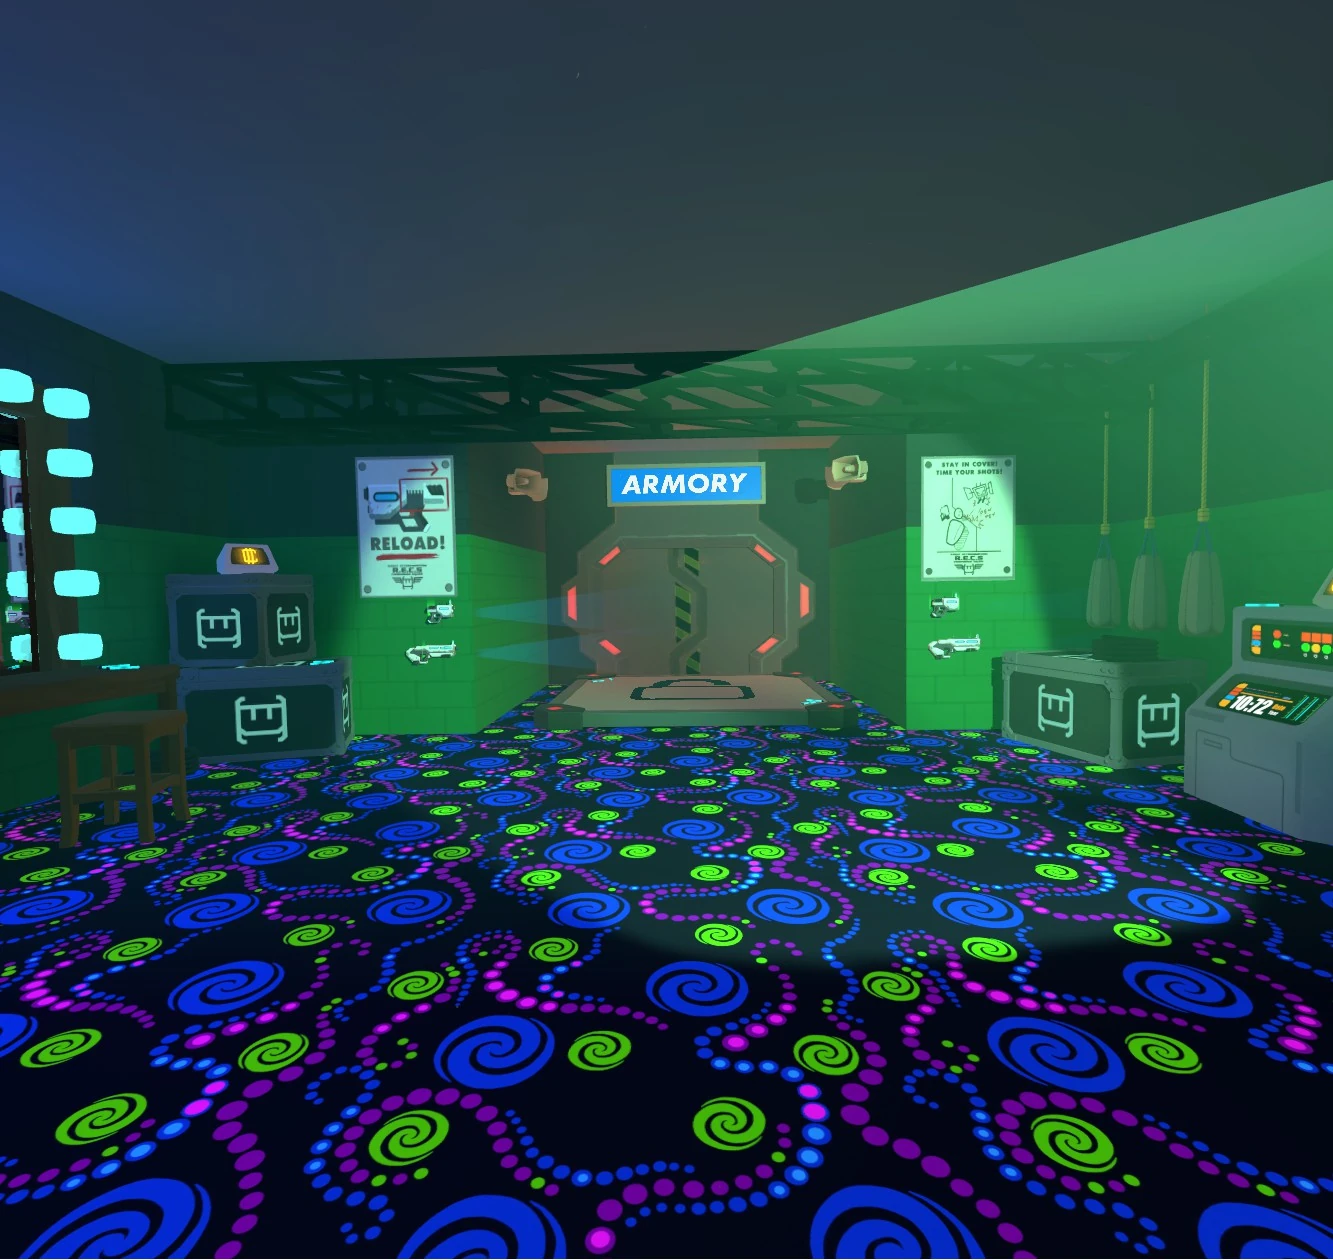
Starting room for The Rise of Jumbotron.
You spawn in a dressing room (similar to a futuristic version of that in the Quest for the Golden Trophy) with a mirror on the left wall, some decor and credit-filled monitors along with 4 laser pistols and 4 laser submachine guns on the back wall. You exit the dressing room by gathering all players on the platform and teleporting through the door at the back wall. Remember that you have to reload the laser weapons by pulling the grips back or down, and remember that there is friendly fire. Dead players can be revived by a high five from a player who is still alive.
Entering the Armory, you will find a large open room, and as you move through the open port, you will trigger a spawn of three Bat Bots, one between each pillar. These bots shoot 3 fast-traveling lasers at the players head. Attempting to move ahead will spawn three more bots but in randomized locations. Upon killing that wave will spawn three more bots. Proceeding forth, there will be two more bots up high on the left side. Moving up will spawn the final wave of four bots at the exit area. Upon killing the last enemy, you will hear a distinct tune letting you know it's okay to move to the exit platform.
Next up is the Cargo Bay, which has ground tread bots, mouse bombs, and the previous bat bots. You will encounter 5 Tread Bots at the ramp. Moving down the ramp, you will spawn a wave of 5 more bots on the backside of the room. Proceeding forth, there will be a decently tough fight involving two Tread Bots and 2 Bat Bots. Attempting to move ahead will spawn a wave of 5 mouse bombs. They have very little health, but often catch players unaware. After killing the mouse bombs, you will see a room to your right, in which contains a laser shotgun. But moving into this room will start a spawn of 3 Bat Bots in various corners of the room. Then killing 2/3 of the Bat Bots will spawn another 3 and some mouse bombs at the top of the first ramp. Proceeding onward, there will be a considerably tough fight involving all of the above robots. There are 3 consecutive waves in this room. Firstly, there is a spawn of five bat bots in various parts of the room. Secondly, there will be a spawn of 5 tread bots and a group of mouse bombs. Finally, there will be a spawn of 5 more tread bots and a greater wave of mouse bombs.
The Engineering room introduces lasers, which kill you upon contact. Players will get past the first set of lasers and will trigger a spawn of 5 tread bots down the ramp. Attempting to move ahead will spawn a wave of five more tread bots at the bottom of the ramp. Killing that wave will spawn two more waves at the top and the second wave can spawn tread bots at the top and the bottom. Moving up you will encounter two waves of tread bots in various areas of the room with the second wave also containing bat bots. Proceeding forth will spawn a wave of bat bots and tread bots behind you. The final room of this act contains a little bit of everything mentioned in the previous levels. These enemies spawn in consecutive waves so I recommend that you stay at either the ramps or in the room you were previously in. The consecutive waves start off with tread bots. Then a mix of tread bots and flyers. Then some mouse bombs alone. Then a mix of mouse bombs and flyers. Then the last wave contains many flyers in various areas of the room. There is a spawn in the previous room as the final wave of this act by moving up to the exit platform.
The Bridge is an open area with a new enemy called Assassin Bots. They aim with a pink laser and deactivate, then shoot where the laser last was before it was turned off. They have high health but the battery pack on their back is a weak point. Shoot at it with a shotgun or rail gun for maximum damage. There will be waves of tread bots, bat bots, and a few mouse bombs with some assassin bots sprinkled in. Note: if you don't go in the rooms where the Mice Bots spawn, you don't have to worry about them. It should also be noted that a slightly easier but more frantic way to conquer this level is to stay by the entrance and let everything come to you. This method takes a shorter time but you have to deal with 2 Tread Bots and an Assassin Bot spawning in that same room.
Now there is the Flight Deck, a very large open room with little to no flooring, with a stationary space ship in the center. Pushing the large green button on the center console will play a small projector scene showing the spaceship flying through space and approaching the Jumbodome. This will also initiate a heavy attack from the bots starting at the place where the projector was, spawning tread bots, bat bots, and mouse bombs alike in different places. The best strategy is if you are duel-wielding shotguns, go to the first wave spawn point, take out the three Bat Bots as you can, then fall back and work with the rail gun to help you defeat the Tread Bots. Upon killing the last enemy, you will hear an automated voice say "Now arriving, all units please depart the escape vessel." Hearing this allows you to teleport to the next area.
Space is an area in which every sound, including mic communication between players, is muffled in an underwater-like way. There will be a horde of tread bots waiting for you, with an explosive barrel to their right side. Shooting it will kill all but 2. Moving ahead there will be lasers, tread bots and bat bots. Some bots will spawn behind you. Near the end you will encounter an elite tread bot. It shoots 5 fast orbs at the same time in different directions. There are a plethora of explosive barrels to help you. A good strategy is to grab the rail gun at the beginning of the level, spawn everything in the first room, and let everything come toward the explosive barrels. Doing this allows for the completion of this level to come much easier. Note: use the rail gun and laser pistols to stun the Elites.
The Hangar is a large open area, consisting of 2 large rooms, the first consisting of elite bat bots, which shoot in rapid bursts of 5, and regular bat bots. Staying near the spawn area is advised. The second room contains elite bat bots, elite tread bots, both of their normal counterparts, and some assassin bots. Some bots will spawn behind you. Killing all of the robots will as usual allow you to teleport to the next area. Note: just like engineering, you have to take this level slowly and one at a time, as running ahead and spawning more waves could easily kill the whole team.
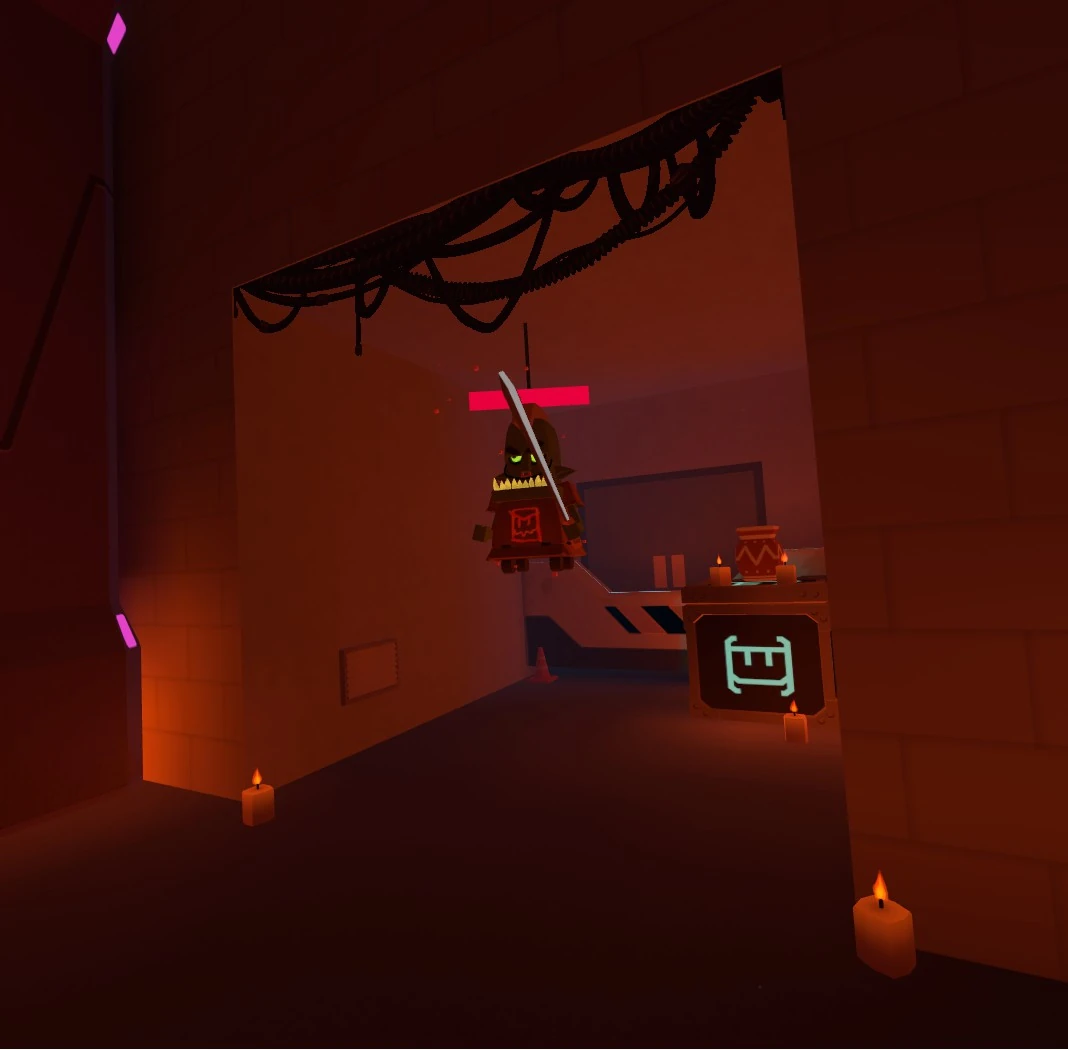

Easter Egg referencing Quest for the Golden Trophy
The Supply room is the second to last room. The starting area has some extra guns, and the next rooms contain quite a bit of everything. Off to the side there is also a small room, containing a goblin (named Kevin by some of the community) and pot from the Quest for the Golden Trophy. A viable strategy is to spawn everything in the first room, fall back to the starting area, and use the explosive barrels to your advantage. As you progress through this level, multiple waves of enemies will spawn around including behind you. The final room of this level is by far the hardest room in the game since it has the most enemies ranging from Elites to Regulars and some Assassin Bots. However, the strategy still remains the same: using the explosive barrels to take out the waves as they're spawning in.
The final room is Jumbotron himself, in a large arena. He has 4 panels that you must destroy and he has an invincible turret below him that will target one of the players, preferably one who is not taking cover. It shoots streams of fast lasers that usually shoot in front of you so running in a straight line can still get you hit. After a panel is destroyed, he will summon tread bots and bat bots (elite and normal) which will spawn in multiple points, so when you hear him yell "Reinforcements!", watch yourself. Upon destroying the four panels, it will destroy his turret and kill any enemies remaining in the room. You will get loot depending on the Quest Rating achieved by your team. (Unless you already unlocked all cosemetics below the rank)
Laser Guns[]
")
") Laser Pistol, reload by pulling back the top black grip or throwing it to flip it upside-down. 5 shots before you must reload. It also stuns Normal and Elite Bots
Laser Pistol, reload by pulling back the top black grip or throwing it to flip it upside-down. 5 shots before you must reload. It also stuns Normal and Elite Bots") Laser Burst Gun, reload by pulling down the black grip. You may also use a two handed grip on this gun by grabbing the black grip on the front of the gun with your off hand. 22 shots before you must reload. This is a good weapon for taking out Bat Bots quickly
Laser Burst Gun, reload by pulling down the black grip. You may also use a two handed grip on this gun by grabbing the black grip on the front of the gun with your off hand. 22 shots before you must reload. This is a good weapon for taking out Bat Bots quickly") Laser Shotgun, reload by pulling back the black grip. Pushes enemies back and very briefly stuns them if you are in close range. You may also use a two handed grip on this gun by grabbing the black grip on the front of the gun with your off hand. 3 shots before you must reload.
Laser Shotgun, reload by pulling back the black grip. Pushes enemies back and very briefly stuns them if you are in close range. You may also use a two handed grip on this gun by grabbing the black grip on the front of the gun with your off hand. 3 shots before you must reload.") Rail Gun, reload by pulling back a red grip at the sides. You may also use a two-handed grip by grabbing the black grip on the bottom of the gun with your off hand. Pushes enemies back and very briefly stuns them from any range. 3 shots before you must reload.
Rail Gun, reload by pulling back a red grip at the sides. You may also use a two-handed grip by grabbing the black grip on the bottom of the gun with your off hand. Pushes enemies back and very briefly stuns them from any range. 3 shots before you must reload.
")
")
")
")
Enemies[]
")
")
")
")
")
")
Scoring[]
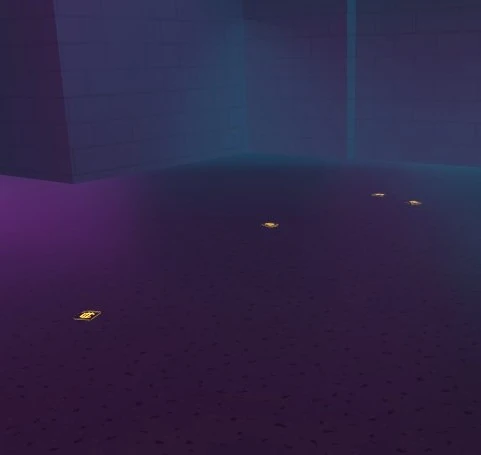
Credits sitting on the ground.
Final team score is the cumulative score of each member and determines your Quest Rating which determines the rarity of loot you get after the last boss, so if you plan on beating the quest it is important for each player to have as high a score as possible.
There are only so many points, referred to as credits in this mode, that your team can possibly attain, but there are unlimited amounts that you can lose by dying or committing friendly fire.
Ways to obtain credits are by killing robots, destroying monitors, detonating explosive barrels, and destroying computer systems. Credits in Jumbotron differ from points in other quests in the way that they have to be picked up in order to add to your score.


An upclose look at a credit.
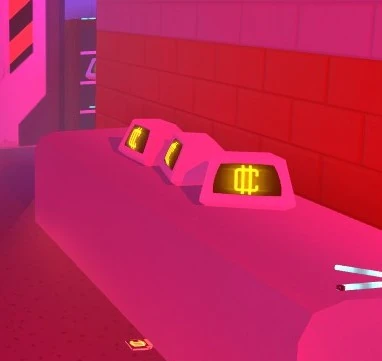

Credit-filled monitors on a shelf.
The player that does the destruction is the only one that gets credits, except in the case of multiple peope damaging robots before they are killed, in which case the credits are split.
Every time a player is shot by a bot or hits a teammate (friendly fire), they lose 1200 credits.
If a player is prone to dying, it might benefit the team if that person did not destroy the breakable objects for the extra credits, because that is just more for them to lose, which hurts the whole team. Your score cannot go below zero, so if you have under 1200 credits and die, it is less harmful than if you have lots of credits and die.
Breaking a credit filled monitor will grant 50 credits to the player.
(Insert other credit information upon breaking or killing enemies here)
")
")
")
Tips[]
- The Rise Of Jumbotron is one of the quests without any checkpoints. Progress and credits will be lost on team failure.
- Stick together, revive first, if the mobs are too close, run! And don’t be that guy that spawns every single mob at once, or friendly fires on purpose.
- By putting an item on your back directly before teleporting into a new room, the item can be duplicated. If this is done on game start, it instead brings in weapons from the lobby. This is useful to have several shotguns or railguns early on.
- In the final battle with Jumbotron, there is a small wall prop made of metal and glass in the corner of the room, directly right of the entrance. By standing behind it, most mobs and Jumbotron's laser will be unable to hit you unless they are given ample time to approach. No mobs will spawn in this area. Here, you can slowly chip away two of Jumbotron's screens in peace.
- Bots will usually target the player closest to them. However, they will always switch their target to the last player that damaged them. This can be useful for distracting them from a teammate, who can then sneak up on the bot.
- Jumbotron is the only enemy who will lead you. The rest of the bots will shoot in the last place they saw your head.
- Railguns and pistols are the only weapons that will stun enemies when fired, railguns stunning more. It is highly suggested to use railguns against elites to stun them in between their firing, which will cause an interruption in the elite tread bots 5x shots that are usually very challenging to evade.
- In the armory, supply and jumbotron levels there are some areas you can noclip and cheese these levels if you successfully noclip into the walls or floor you become practically invincible.
- Enemies spawn near the left of Jumbotron. Take out the left screen and then those bots first. Then, you can shoot the remaining 3 with 14 shots each with a railgun. Finally, you can shoot each screen once more to quickly finish him off.